這是一種有趣的需求,設定一個小小觀景窗,在觀景窗後方的物件只能透過觀景窗才能看到。
需求
- 透過觀景窗才能看到物件
- 被觀察的物件可移動、縮放及旋轉
主要功能的 XAML
說穿不值錢,這靠 Clip 就做得到了,在這基本的範例中,我們透過外層黃色背景的 border 觀景窗觀察後方的 path ,上面擺了兩個相同的 path,其中亮灰色的那個是為了用來比對觀景窗看到的和原來實際狀況的比較。(因為 path 的 Data 太長,要看詳細內容請至 github)。
 <Grid>
        <Grid.Resources >
            <Style TargetType= "Border">
                <Setter Property="HorizontalAlignment" Value="Stretch"/>
                <Setter Property="VerticalAlignment" Value="Stretch"/>
            </Style>
            <Style TargetType="Path">
                <!-- 略 -->
                <Setter Property="Stretch" Value="Uniform"/>
                <Setter Property="RenderTransformOrigin" Value="0.5,0.5"/>
            </Style>
        </Grid.Resources>
        <Border  >
            <Path Fill="LightGray" >
            </Path>
        </Border>
        <Border Background="Yellow">
            <Border.Clip >
                <RectangleGeometry Rect="100,100,200,200"/>
            </Border.Clip>
            <Path  Fill="#FF0000FF">
                <Path.RenderTransform>
                    <TransformGroup>
                        <TransformGroup.Children>
                            <RotateTransform Angle="0" />
                            <ScaleTransform ScaleX="1" ScaleY="1" />
                            <TranslateTransform X="0"/>
                        </TransformGroup.Children>
                    </TransformGroup>
                </Path.RenderTransform>
            </Path>
        </Border>
    </Grid>
結果大概是長成這樣:
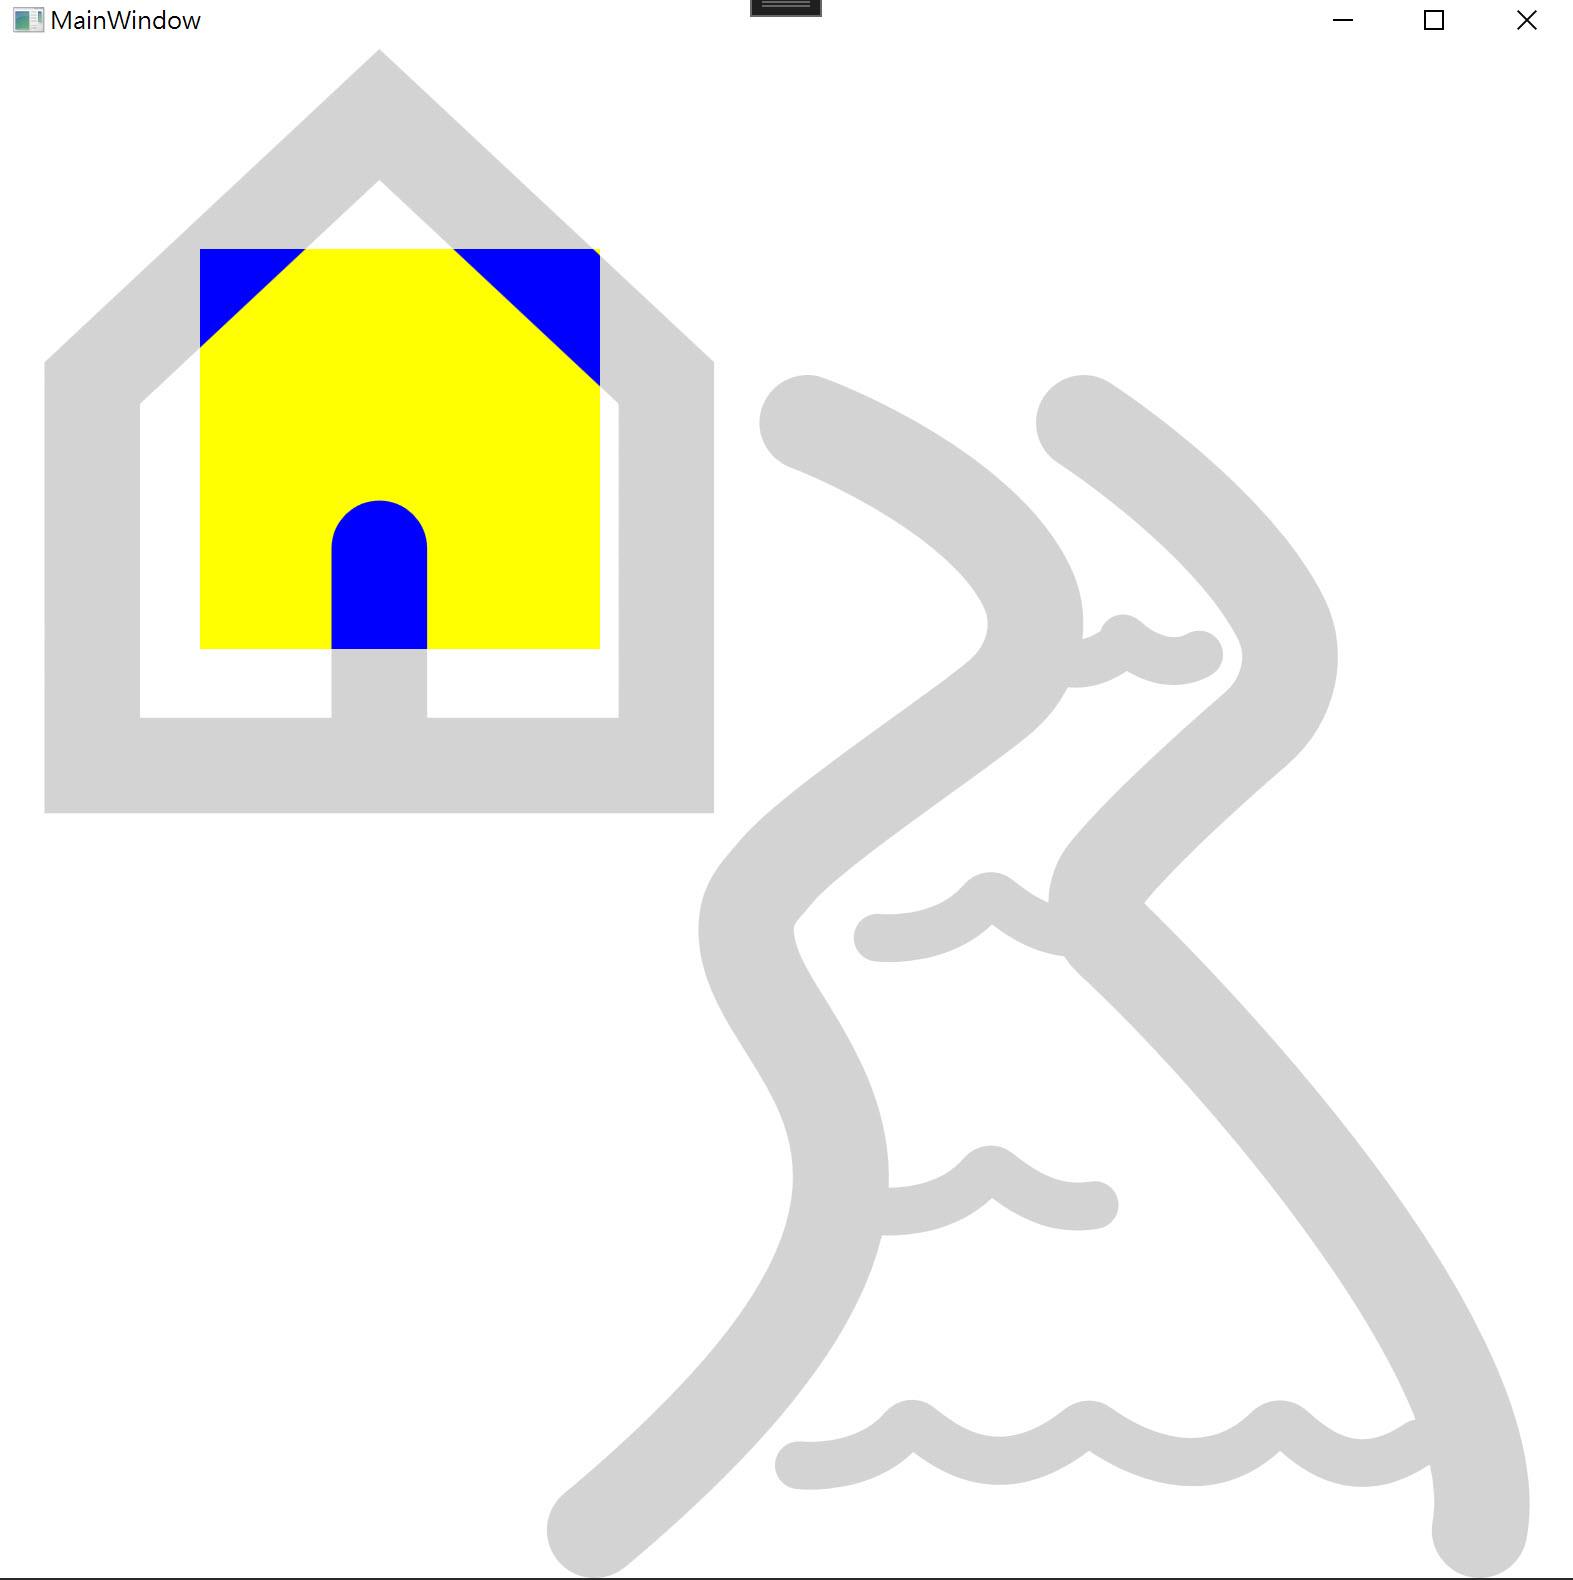
 <Border.Clip >
     <RectangleGeometry Rect="100,100,200,200"/>
 </Border.Clip>
上面這段 xaml 就是從這個 border (100,100) 位置剪裁出一個 200X200 的觀景窗,當然你未必要用方形,用圓形或任何你可以做得出來的形狀都可以。
關於操作
從上面的 xaml 應該可以看出來操作的部分就是目標的 RenderTransform,裡面擺放了三種變形的方式,旋轉、縮放以及移動:
<Path  Fill="#FF0000FF">
    <Path.RenderTransform>
        <TransformGroup>
            <TransformGroup.Children>
                <RotateTransform Angle="0" />
                <ScaleTransform ScaleX="1" ScaleY="1" />
                <TranslateTransform X="0"/>
            </TransformGroup.Children>
        </TransformGroup>
    </Path.RenderTransform>
</Path>
完成整個程式
這個範例我打算在畫面左邊建立一個操作區,可以透過操作旋轉、縮放以及移動背後的物件,但作為比對的亮灰色物件會保留原始狀況,才能看出來前後有甚麼不同。簡單的畫面設計如下:
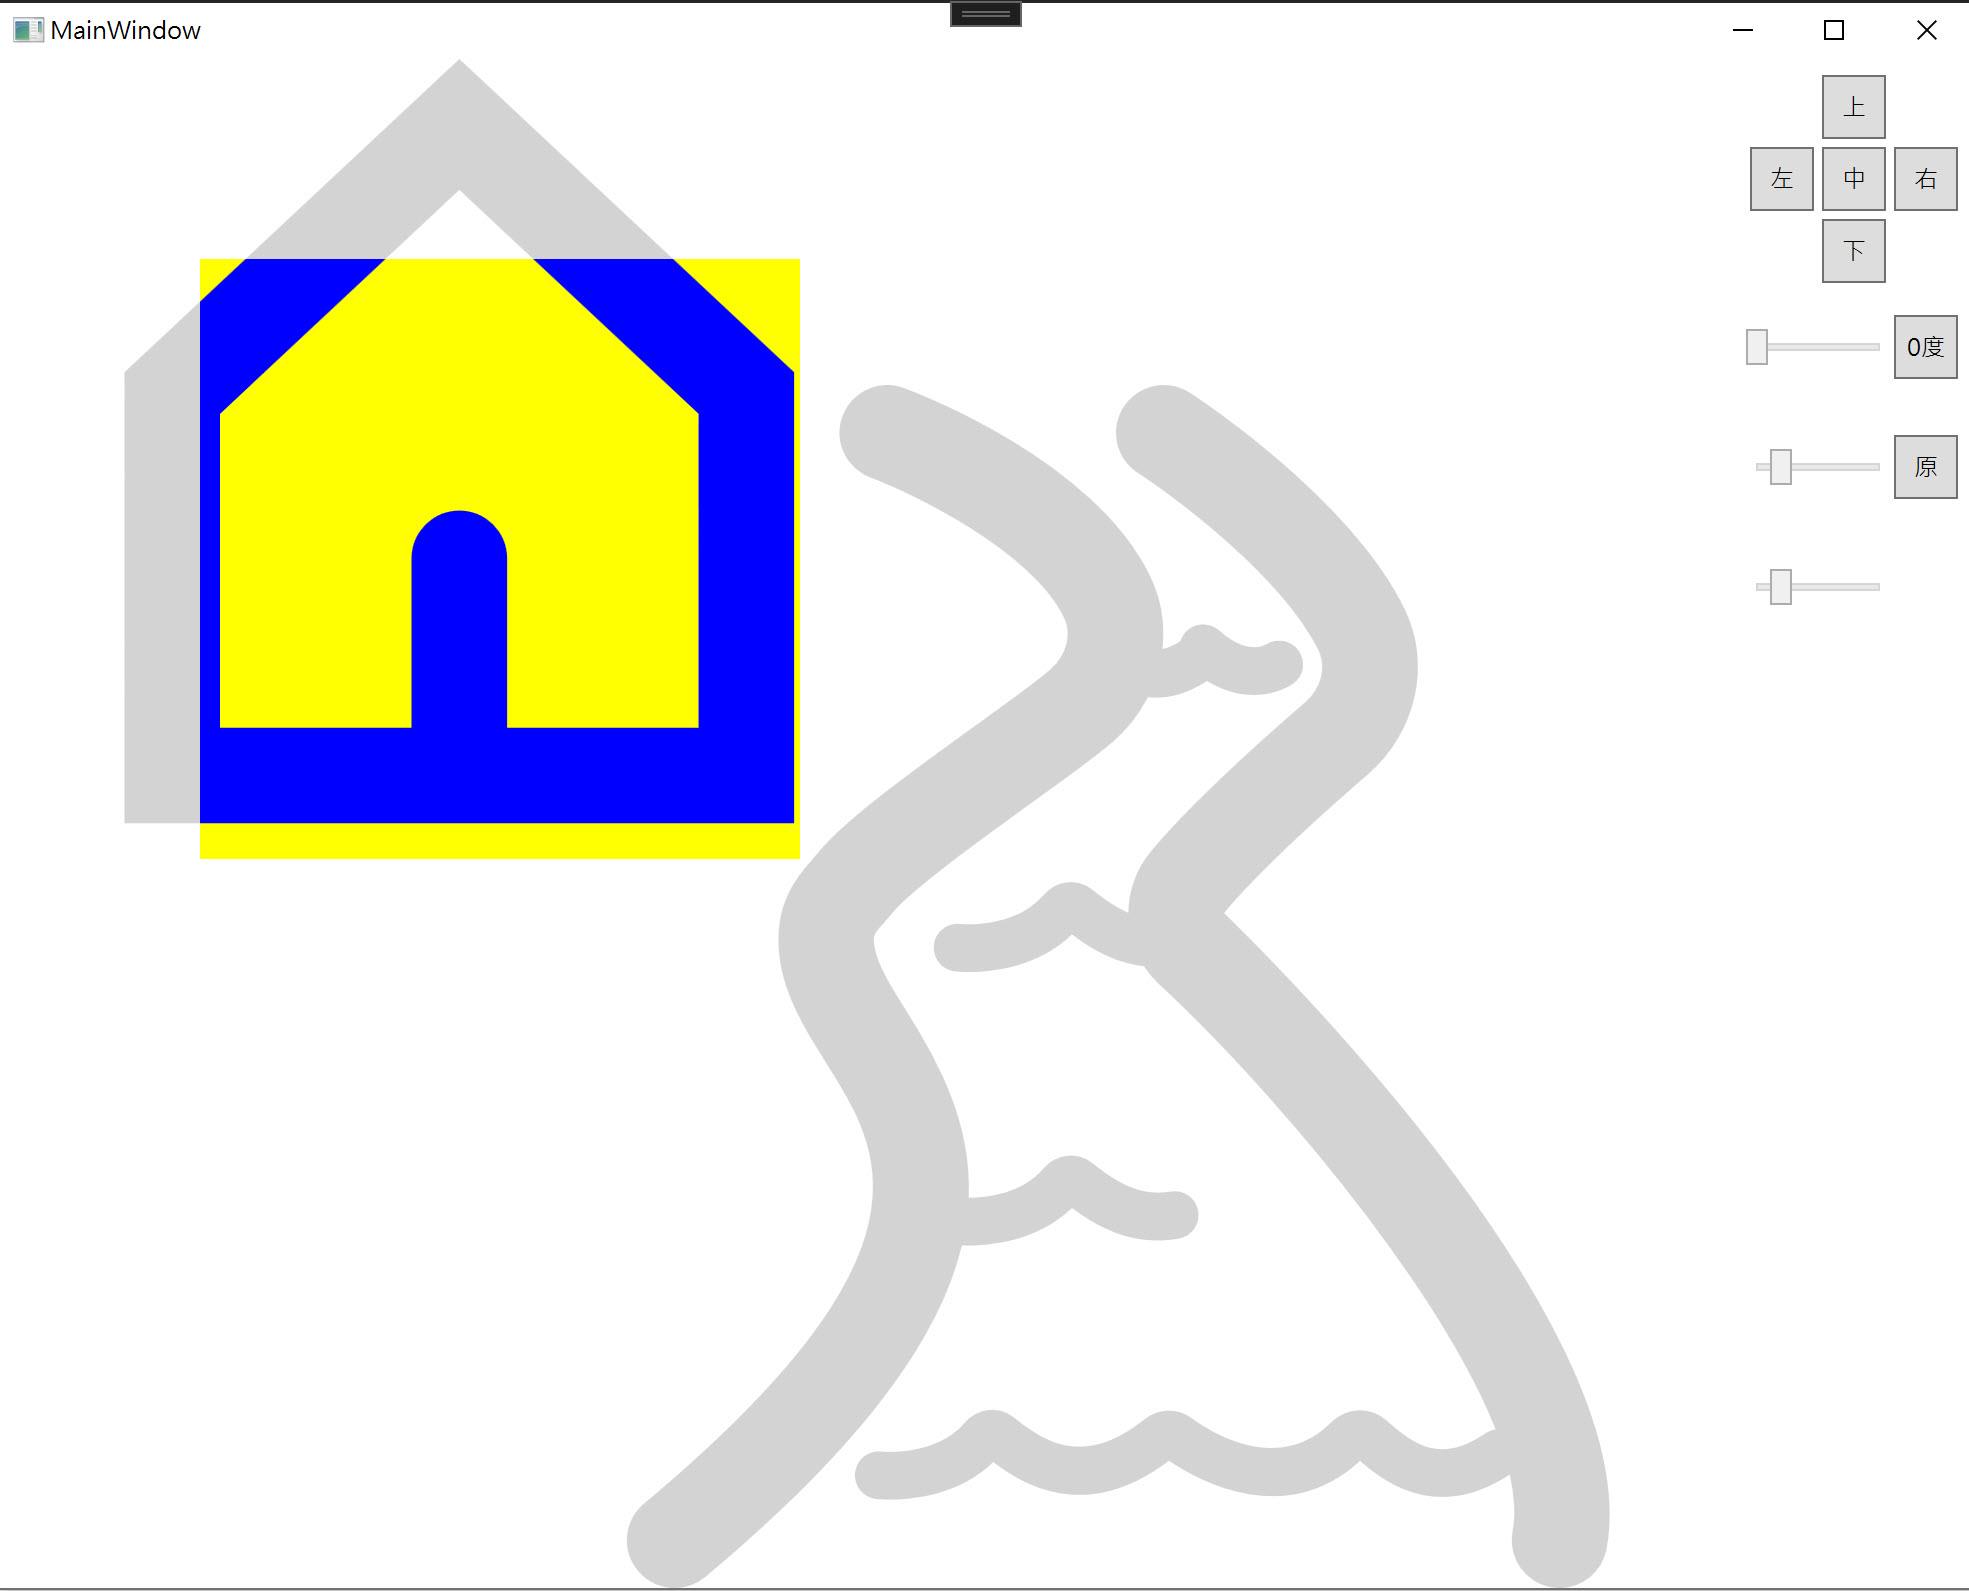
上方的五個按鈕操作移動,「中」這個按鈕會回到原來的位置;中間的滑桿用來控制角度;下方兩個滑桿分別為橫向放大與縱向放大。
ViewModel
為這些操作建立一個 ViewModel,設計相關需要的屬性和命令,命令內容就用 switch case 簡單做。
public class MainViewModel : NotifyPropertyChangedBase
    {

        public MainViewModel()
        {
            Angle = 0;
            ScaleX = 1;
            ScaleY = 1;
            TranslateX = 0;
            TranslateY = 0;
        }

        private double _angle;

        public double Angle
        {
            get => _angle;
            set => SetProperty (ref _angle , value );
        }

        private double _scaleX;
        public double ScaleX
        {
            get => _scaleX;
            set => SetProperty(ref _scaleX, value);
        }

        private double _scaleY;
        public double ScaleY
        {
            get => _scaleY;
            set => SetProperty(ref _scaleY, value);
        }

        private double _translateX;
        public double TranslateX
        {
            get => _translateX;
            set => SetProperty(ref _translateX, value);
        }

        private double _translateY;


        public double TranslateY
        {
            get => _translateY;
            set => SetProperty(ref _translateY, value);
        }

        private Dictionary<string, Action> _operations;

        private ICommand _operationCommand;
        public ICommand OperationCommand
        {
            get
            {
                if (_operationCommand == null)
                {
                    _operationCommand = new RelayCommand((x) =>
                    {
                        string parameter = x as string;
                        if (parameter == null) { return; }
                        switch(parameter)
                        {
                            case "up":
                                TranslateY -= 5;
                                return;
                            case "down":
                                TranslateY += 5;
                                return;
                            case "left":
                                TranslateX -= 5;
                                return;
                            case "right":
                                TranslateX += 5;
                                return;
                            case "center":
                                TranslateX = 0;
                                TranslateY = 0;
                                return;
                            case "angle":
                                Angle = 0;
                                return;
                            case "size":
                                ScaleX = 1;
                                ScaleY = 1;
                                return;
                            default:
                                return;
                        }
                    });
                }
                return _operationCommand;
            }
        }
    }
xaml 修改
首先當然是先設定 DataContext
<Window.DataContext>
    <local:MainViewModel />
</Window.DataContext>
為 Path 的各個 RenderTransform 加上資料繫結:
<Path  Fill="#FF0000FF" RenderTransformOrigin="0.5,0.5">
    <Path.RenderTransform>
        <TransformGroup>
            <TransformGroup.Children>
                <RotateTransform Angle="{Binding Angle}" />
                <ScaleTransform ScaleX="{Binding ScaleX}" ScaleY="{Binding ScaleY}" />
                <TranslateTransform X="{Binding TranslateX}" Y="{Binding TranslateY}"/>
            </TransformGroup.Children>
        </TransformGroup>
    </Path.RenderTransform>
</Path>
把最外層 Grid 切分成兩個 Column:
<Grid.ColumnDefinitions >
    <ColumnDefinition Width="*" />
    <ColumnDefinition Width="Auto"/>
</Grid.ColumnDefinitions>
加上一個 Grid,簡單放上用於操作的控制項與必要的資料繫結:
<Grid Grid.Column="1" Margin="6">
            <Grid.Resources >
                <Style TargetType="Button">
                    <Setter Property="Width" Value="32"/>
                    <Setter Property="Height" Value="32"/>
                    <Setter Property="Margin" Value="2"/>
                    <Setter Property="Command" Value="{Binding OperationCommand}"/>
                </Style>
            </Grid.Resources>
            <Grid.ColumnDefinitions >
                <ColumnDefinition Width="*"/>
                <ColumnDefinition Width="*"/>
                <ColumnDefinition Width="*"/>
            </Grid.ColumnDefinitions>
            <Grid.RowDefinitions >
                <RowDefinition Height="36"/>
                <RowDefinition Height="36"/>
                <RowDefinition Height="36"/>
                <RowDefinition Height="60"/>
                <RowDefinition Height="60"/>
                <RowDefinition Height="60"/>
            </Grid.RowDefinitions>
            <Button Content="上" Grid.Row="0" Grid.Column="1" VerticalAlignment="Bottom" CommandParameter="up"/>
            <Button Content="下" Grid.Row="2" Grid.Column="1" VerticalAlignment="Top" CommandParameter="down"/>
            <Button Content="左" Grid.Row="1" Grid.Column="0" CommandParameter="left"/>
            <Button Content="右" Grid.Row="1" Grid.Column="2" CommandParameter="right"/>
            <Button Content="中" Grid.Row="1" Grid.Column="1" Margin="0" CommandParameter="center"/>
            <Slider Grid.Row="3" Grid.ColumnSpan="2" VerticalAlignment="Center" Value="{Binding Angle}"
                    Minimum="0" Maximum="360"/>
            <Button Content="0度" Grid.Row="3" Grid.Column="2" CommandParameter="angle"/>
            <Slider Grid.Row="4" Grid.ColumnSpan="2" VerticalAlignment="Center" Value="{Binding ScaleX}"
                    Minimum="0" Maximum="5" />
            <Slider Grid.Row="5" Grid.ColumnSpan="2" VerticalAlignment="Center" Value="{Binding ScaleY}"
                    Minimum="0" Maximum="5"/>
            <Button Content="原" Grid.Row="4" Grid.Column="2" CommandParameter="size" />
</Grid>
大功告成,完整的程式碼可在我的 github 找到。