記錄 Wear module 加入 Jectpack Compose 的一些心得,協助理解 Gradle 的相關資訊。
參考 Set up Jetpack Compose on Wear OS 的説明,可從 Android Studio 直接加入 Jectpack Compose 的 Wear 專案,但我無法成功。
因此嘗試理解 Gradle 的設定讓 Wear app 能正常使用 Jetpack Compose。
加入 Jetpack Compose
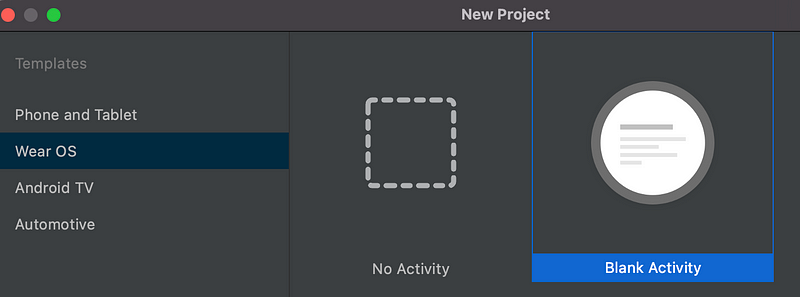
step 1. 建立一個 blank activity 的 Wear OS module
step 2. 修改 module 的 build.gradle
加入 build tool 使用的 gradle 版本:
buildscript {
    dependencies {
        classpath "com.android.tools.build:gradle:7.0.0"
    }
}
step 3. 修改 app 的 builde.gradle
指定使用 Kotlin
plugins {
    id 'com.android.application'
    id 'org.jetbrains.kotlin.android'
    id 'kotlin-android'
}
設定 buildFeatures、compileOptions、kotlinOptions、composeOptions(Java 版本要在 1.8 以上)
buildFeatures {
    viewBinding true
    compose true
}

compileOptions {
    sourceCompatibility JavaVersion.VERSION_11
    targetCompatibility JavaVersion.VERSION_11
}

kotlinOptions {
    jvmTarget = "11"
}

composeOptions {
    kotlinCompilerExtensionVersion = "1.2.0-alpha05"
}
加入 Jectpack Compose for Wear 的 dependencies
dependencies {
    // General compose dependencies
    implementation "androidx.activity:activity-compose:1.3.1"
    implementation "androidx.compose.ui:ui-tooling-preview:1.0.3"
    implementation "androidx.compose.foundation:foundation:1.0.3"
    implementation "androidx.compose.material:material-icons-extended:1.0.3"
    // Other compose dependencies

    // Compose for Wear OS Dependencies
    implementation "androidx.wear.compose:compose-material:1.0.0-alpha18"

    // Foundation is additive, so you can use the mobile version in your Wear OS app.
    implementation "androidx.wear.compose:compose-foundation:1.0.0-alpha18"

    // If you are using Compose Navigation, use the Wear OS version (NOT THE MOBILE VERSION).
    // Uncomment the line below and update the version number.
    // implementation "androidx.wear.compose:compose-navigation:1.0.0-alpha18"

    // Testing
    testImplementation "junit:junit:4.13.2"
    androidTestImplementation "androidx.test.ext:junit:1.1.3"
    androidTestImplementation "androidx.test.espresso:espresso-core:3.4.0"
    androidTestImplementation "androidx.compose.ui:ui-test-junit4:1.0.3"
    debugImplementation "androidx.compose.ui:ui-tooling:1.0.3"
}
step 4. 修改 MainActivity 改繼承 ComponentActivity
class MainActivity : ComponentActivity() {

    override fun onCreate(savedInstanceState: Bundle?) {
        super.onCreate(savedInstanceState)

        setContent {
            Scaffold {
                previewFirstScreen()
            }
        }
    }

    @Preview
    @Composable
    fun previewFirstScreen() {
        Column(
            horizontalAlignment = Alignment.CenterHorizontally,
            modifier = Modifier.fillMaxSize().padding(5.dp)
        ) {
            Row {
                Text("Test")
            }
        }
    }
}如果專案打算用 Compose 為主,記得把 Activity 改用 ComponentActivity 才能正常使用。
step 4. 執行結果
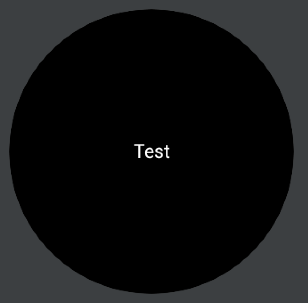
按照上述步驟即可讓 Wear 專案開始的使用 Jetpack Compose。
參考資料
Jetpack Compose Basics — How to load images from Bitmap, Vector, Painter or from URL with Coil
Android Jetpack Compose 介紹和示範,它改變了什麼?
Loading images for Jetpack Compose using Glide, Coil, and Fresco
ComponentActivity vs AppCompactActivity in android JetpackCompose
Integrating Compose with your existing UI
Gradle專案中gradle.build檔案中的buildScript程式碼塊
在Gradle中,使用plugins和apply plugin有什么区别?