Linux Ubuntu實際架站(.Net WebAPI + Angular)範例
先前寫了幾篇Nginx on Linux Ubuntu架站系列文:
- 靜態網頁(也可透過GitHub的GitPage):Linux Ubuntu安裝SFTP,部屬靜態網頁至Nginx
- api站台:Linux Ubuntu部屬.Net Core程式, 使用Nginx 部屬多個 .NET程式為子網站
- 動態網站:解決Angular呼叫(.Net)後端API時出現的CORS問題
其中第三篇動態網站架設的模式是採用前後端程式分屬兩個不同的專案夾資料,先部屬前端專案後,再呼叫後端專案的API,達到真真正正的前後(專案資料夾)分離。
但在.Net可以透過UseSpa這個後端的Middleware來幫我們導到(由Angular建置出的)靜態index.html網頁檔案,這樣的好處是,整個網頁專案都裝在同一個專案資料夾裡面。在Linux上只要部屬後端程式就好,不用分前. 後端專案資料夾分別部屬。這篇文章主要就是示範透過此方式來進行網站的部屬。
修改angular的outputPath
執行ng b建置後,會在指定的outputPath目錄產生建置完成後的相關檔案
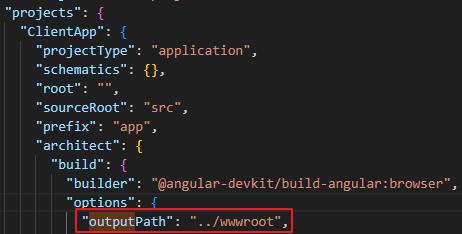
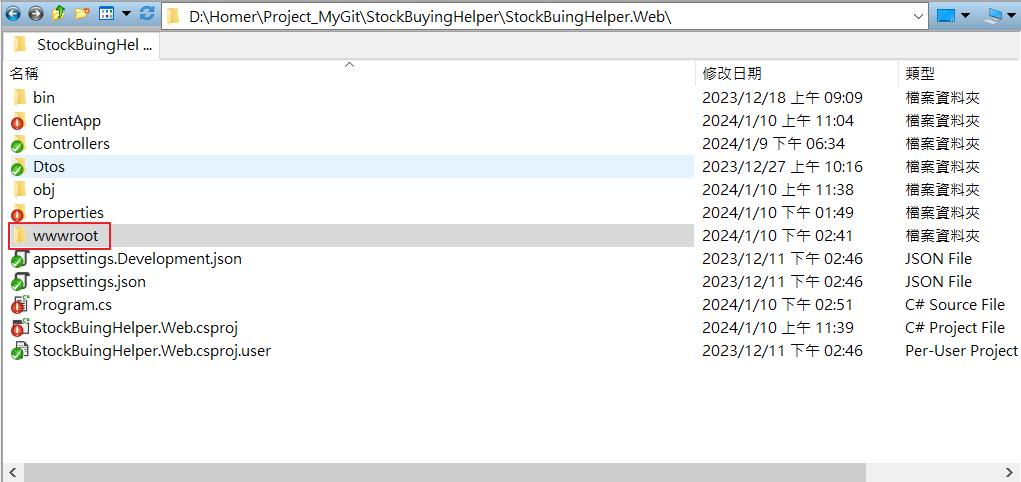
這裡我們指定的位置為,.Net程式主要專案的同一層
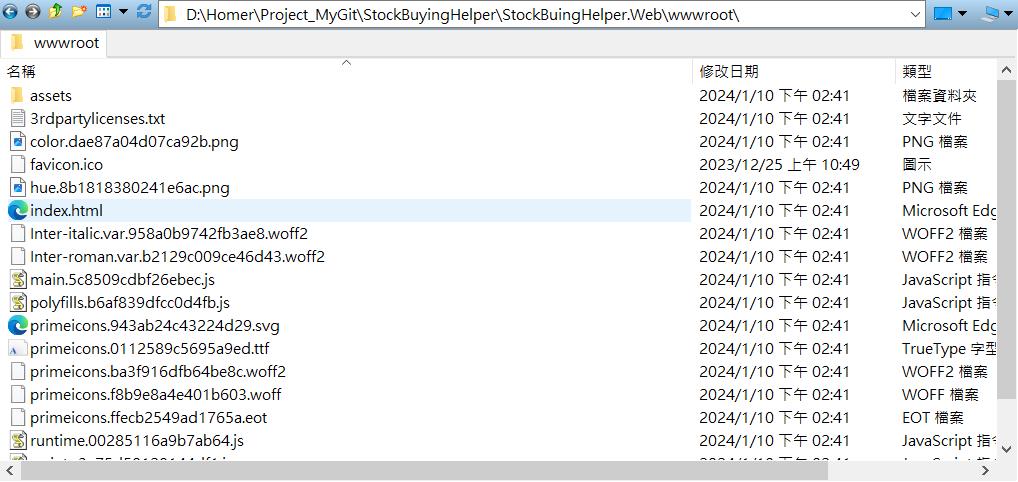
接著在Angular專案資料夾下執行ng b開始建置(如要指定設定檔,可以在後面加上configuration參數。ng b --configuration=staging),產出的檔案如下
.Net Program.cs設定UseSPA
由於是Angular專案都是SPA的網頁,實際上只會有一個實體的網頁檔案(wwwroot/index.html),其他頁面都是靠路由抵達。所以我們在Program.cs裡面做一些相關的設定,指定起始頁的位置,讓.Net程式能夠找到我們的index.html起始頁。
builder.Services.AddSpaStaticFiles(configuration =>
{
    configuration.RootPath = "wwwroot";
});
app.UseSpaStaticFiles();
/*
*UseSpa() returns index.html from API instead of 404
*ref:https://stackoverflow.com/questions/67625133/usespa-returns-index-html-from-api-instead-of-404
*/
app.MapWhen(x => !x.Request.Path.Value.StartsWith("/api"), builder =>
{
builder.UseSpa(spa =>
{
spa.Options.SourcePath = $"wwwroot";
if (app.Environment.IsDevelopment())
{
spa.UseProxyToSpaDevelopmentServer("http://localhost:4200");
}
});
});在Linux Ubuntu建立專案資料夾,並設定權限
以下步驟詳細請參考舊文:Linux Ubuntu安裝SFTP,部屬靜態網頁至Nginx
建立專案資料夾
mkdir /var/www/html/StockBuyingHelper設定資料夾權限
sudo chmod 775 /var/www/html/StockBuyingHelper設定資料夾群組(sftp_group)
sudo chown -R root:sftp_group /var/www/html/StockBuyingHelper*設定專案資料夾裡面的子資料夾&檔案&日後建立的新文件或文件夾的權限
sudo find /var/www/html/StockBuyingHelper/ -type d -exec chmod 775 {} \;
sudo find /var/www/html/StockBuyingHelper/ -type f -exec chmod 775 {} \;
sudo find /var/www/html/StockBuyingHelper/ -type d -exec chmod g+s {} \;
如果沒有設定資料夾權限的話,SFTP上傳檔案時會出現permission denied的錯誤

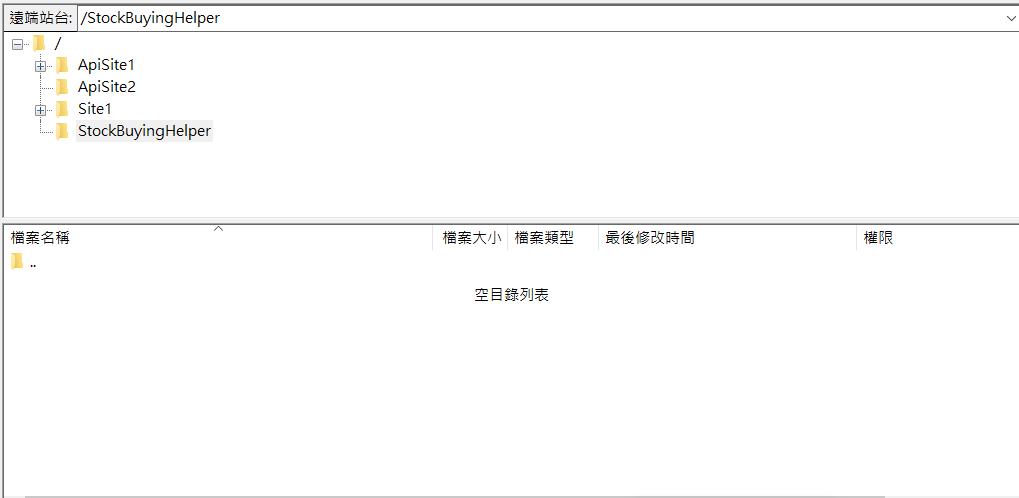
都設定好之後,連上SFTP,就可以看到我們新增的專案資料夾了,目前裡面都還是空空的
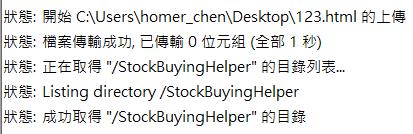
試丟一個測試檔案上去看看

發佈.Net專案並上傳至Linux伺服器
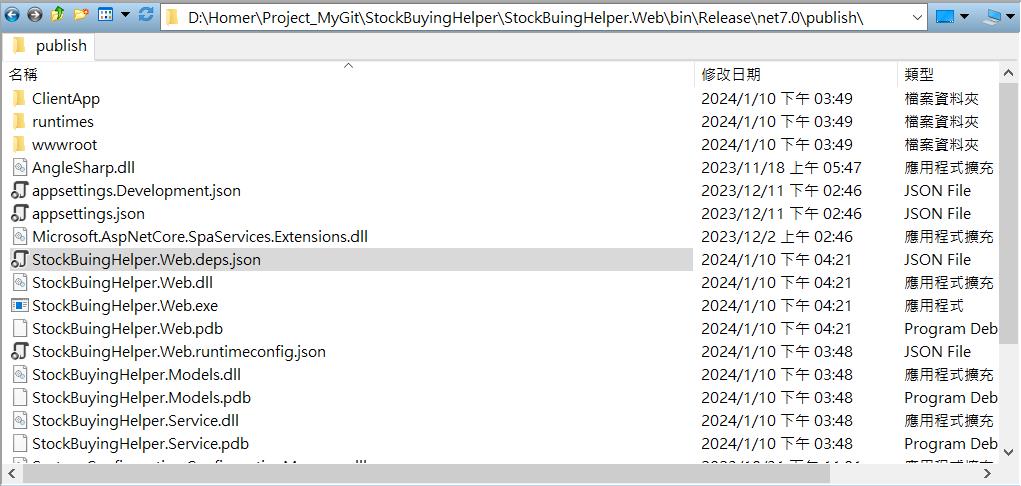
發佈建置完成後,會有一包.Net的程式包
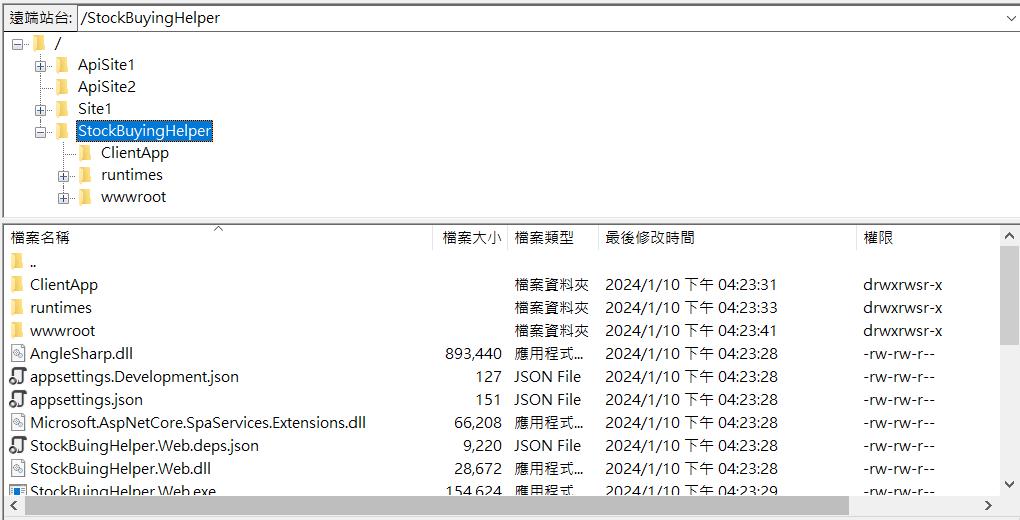
透過SFTP上傳到Linux伺服器上
執行程式
先在Linux上確認一下專案資料夾內容
sudo tree /var/www/html/StockBuyingHelper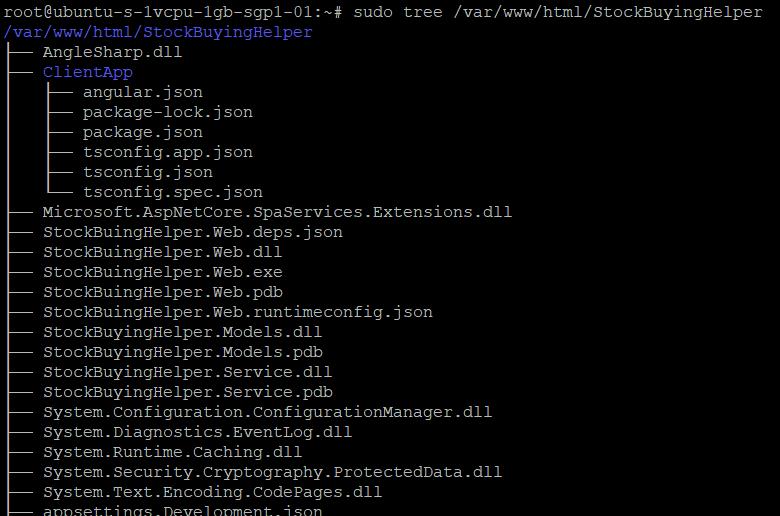
執行程式
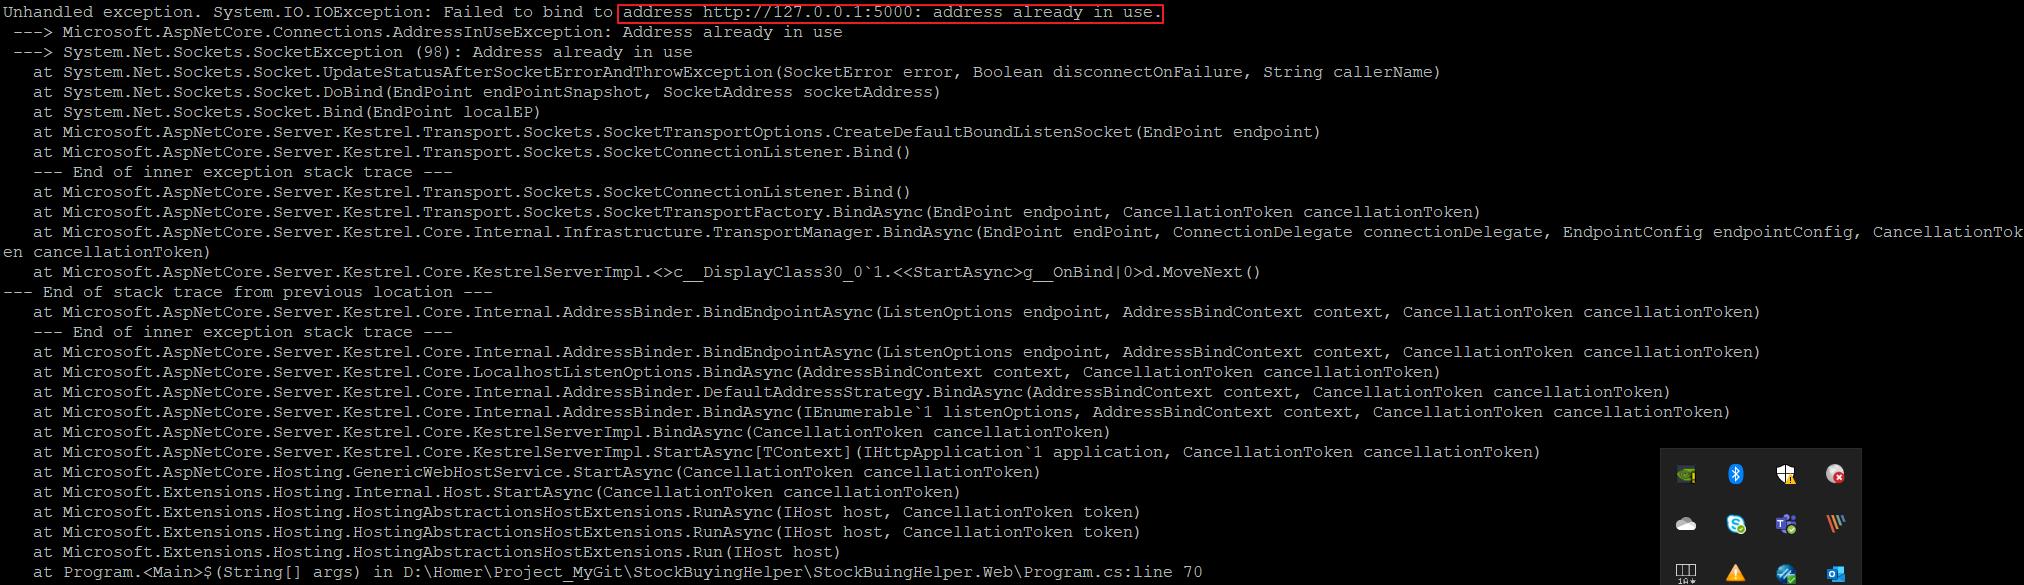
sudo dotnet /var/www/html/StockBuyingHelper/StockBuingHelper.Web.dll出現錯誤訊息,原來是之前的程式還在run。佔用了port 5000了(port 5000是Kestrel的預設監聽port)。我們是可以改成其他的port在重新上重設定,但實務上是不會這樣子做的。因為dotnet一次只能跑一隻程式,要解決多網站問題的話,
可以把程式打包成服務(Service),並設置子網站,其道理跟IIS架設網站類似,在同一個站台下面,可以有多個網站應用程式,這樣就不用再另外架設一台IIS Server了。詳情請參考舊文:使用Nginx 部屬多個 .NET程式為子網站
把dll打包服務
建立專案service檔案
sudo nano /etc/systemd/system/SBH.service複製貼上以下內容
[Unit]
Description=StockBuyingHelper Service

[Service]
WorkingDirectory=/var/www/html/StockBuyingHelper
#啟動指令(指向dll)
ExecStart=/usr/bin/dotnet /var/www/html/StockBuyingHelper/StockBuingHelper.Web.dll
Restart=always
#服務崩潰,10秒後重啟
RestartSec=10
KillSignal=SIGINT
SyslogIdentifier=StockBuyingHelper
User=www-data

#環境變數注入,[__]對應JSON的階層
Environment=ASPNETCORE_ENVIRONMENT=Production
Environment=DOTNET_PRINT_TELEMETRY_MESSAGE=false
Environment=ConnectionStrings_SBHConnection="Server=127.0.0.1,1334;Database=Test;User Id=sa;Password=12345678;Timeout=60;TrustServerCertificate=True"

[Install]
WantedBy=multi-user.target啟動服務(補充:刪除service)
sudo systemctl enable SBH.service
sudo systemctl start SBH.service
sudo systemctl status SBH.service
查看service狀態時,發現服務沒有啟動成功,有啟動成功的話,Active會是active (running),而且是令人放鬆的綠色字體顏色

查看log後發現,還是port 5000被佔用了的問題。
sudo dmesg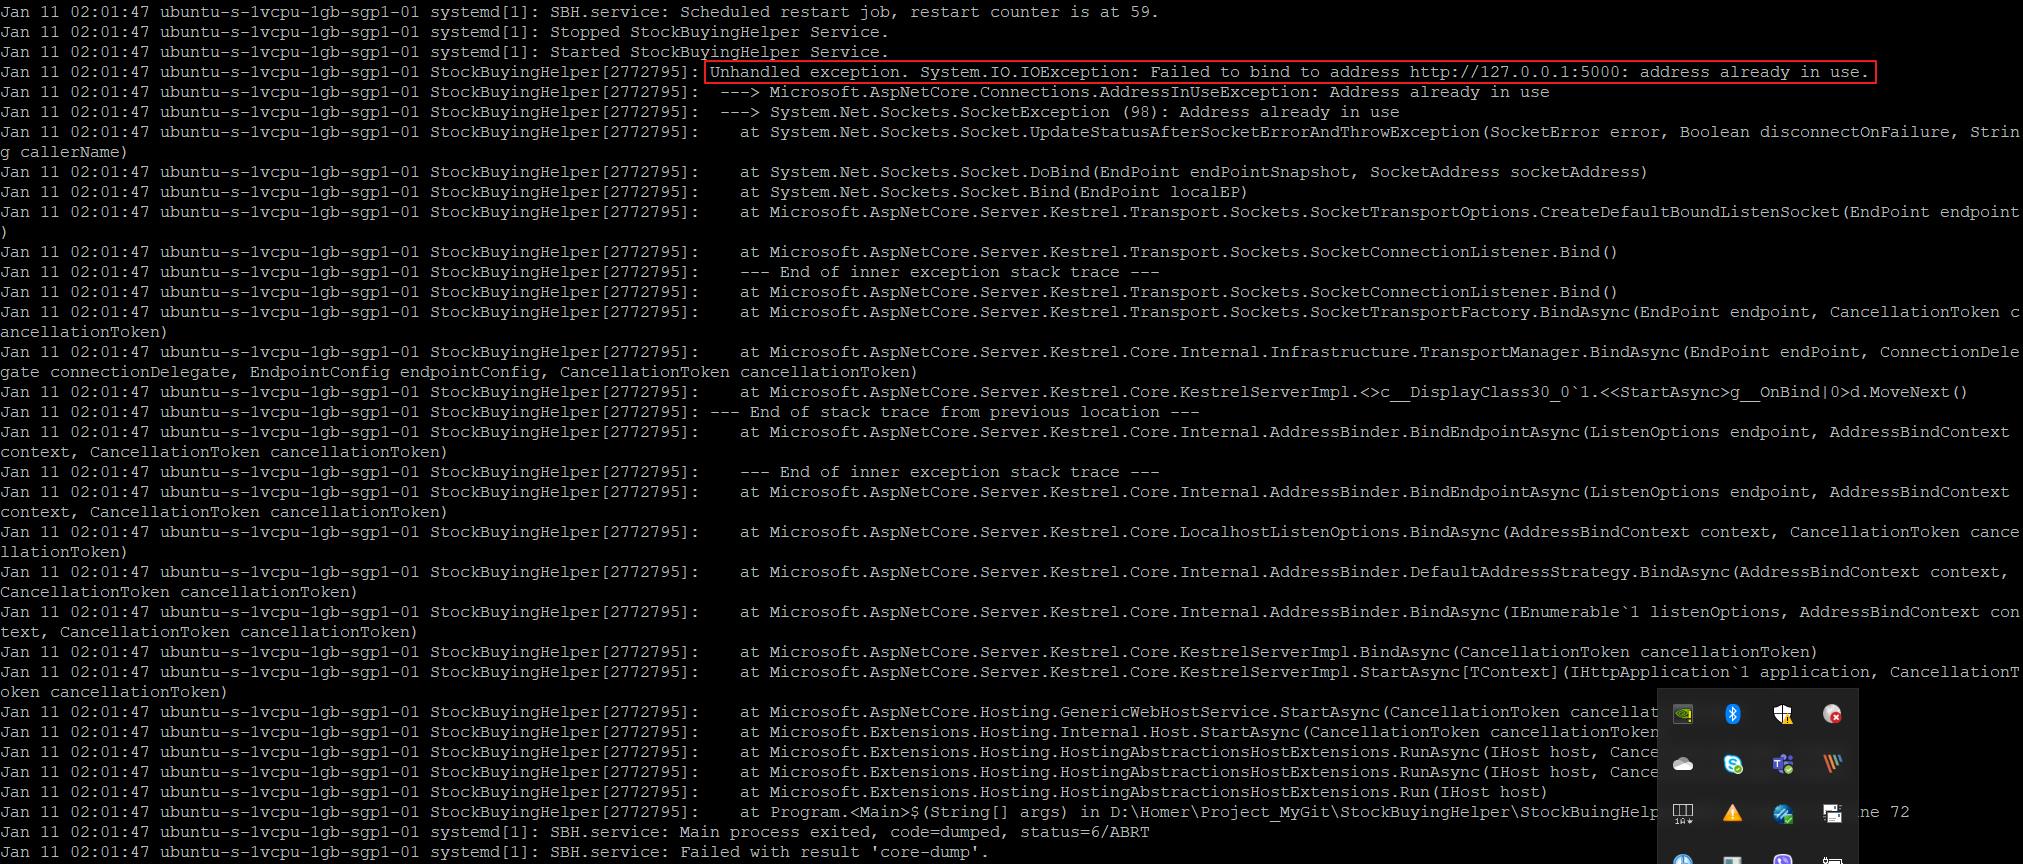
回到appsettings.Production.json,加上下面設定(port可以自行設定)。重新發佈後,把新的appsettings.json上傳到Server。這邊有一點要注意的是,記得是加在appsettings.Production.json裡面,如果加在appsettings的話,會變成預設值,導致Devlopement環境也會用Kestrel運行程式,導致Dev環境網頁無法正常開啟
  "Kestrel": {
    "EndPoints": {
      "Http": {
        "Url": "http://localhost:5088"
      }
    }
  }
重新啟動服務,終於成功run起來了!!
sudo systemctl enable SBH.service
sudo systemctl start SBH.service
sudo systemctl status SBH.service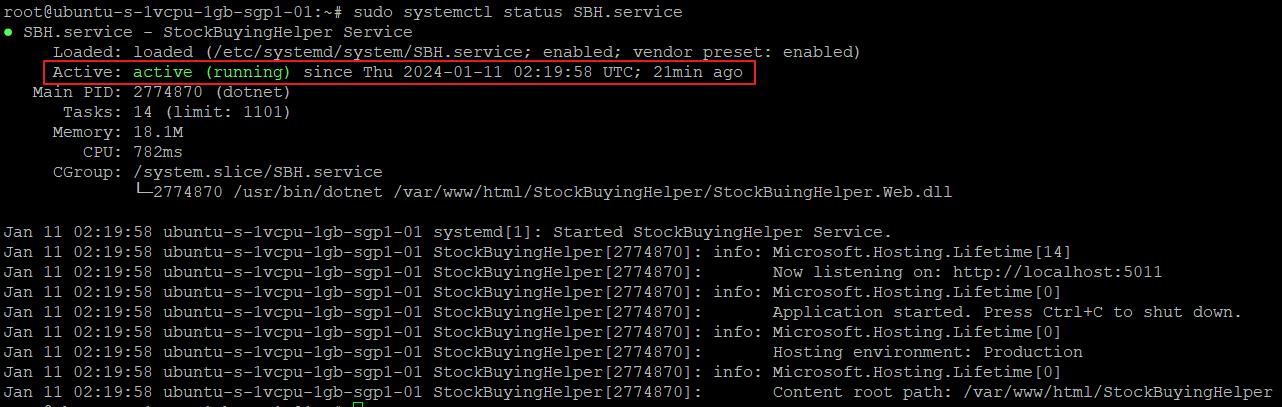
設置Nginx子網站
進入nginx站台設定檔
sudo nano /etc/nginx/sites-available/default加入,順便設定timeout時間。
    location /SBH {
        rewrite            /SBH/(.*) /$1 break;
        proxy_pass         http://127.0.0.1:5011;
        return 200 "ok";

        #timeout setting
	    proxy_read_timeout 180;
        proxy_connect_timeout 180;
        proxy_send_timeout 180;


        proxy_http_version 1.1;
        proxy_set_header   Upgrade $http_upgrade;
        proxy_set_header   Connection keep-alive;
        proxy_set_header   Host $host;
        proxy_cache_bypass $http_upgrade;
        proxy_set_header   X-Forwarded-For $proxy_add_x_forwarded_for;
        proxy_set_header   X-Forwarded-Proto $scheme;
}重啟Nginx
sudo nginx -t
sudo nginx -s reload
最後測試
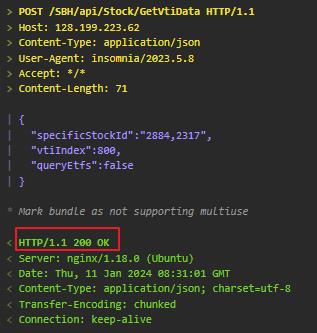
終於來到最後重頭戲了
- API測試(由於是POST方法,無法直接用瀏覽器測試)
- 前端畫面測試(http://xxx.xxx.xxx.xx/SBH)
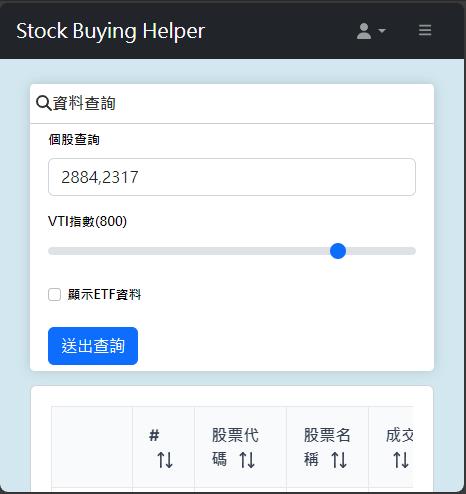
看起來事都成功了,可喜可賀!!
程式更新
如果後續有更新程式的話,除了要把新程式透過ftp上傳至Server,建議要重啟服務跟nginx。PS:打X的是可以省略不執行。
sudo systemctl disable SBH.service(X)
sudo systemctl stop SBH.service(X)
sudo systemctl restart SBH.service(V)

sudo systemctl enable SBH.service(X)
sudo systemctl start SBH.service(X)
sudo systemctl status SBH.service(V)

sudo nginx -s reload(V)