介紹UWP APP如何在1703的SDK中實作PiP Mode
今天要來介紹的是在1703也就是Creator Update的新功能! 之前很多Desktop app都能夠做到Picture in picture mode(圖片源自 https://blogs.msdn.microsoft.com/universal-windows-app-model/2017/02/11/compactoverlay-mode-aka-picture-in-picture/ )!如下圖所示
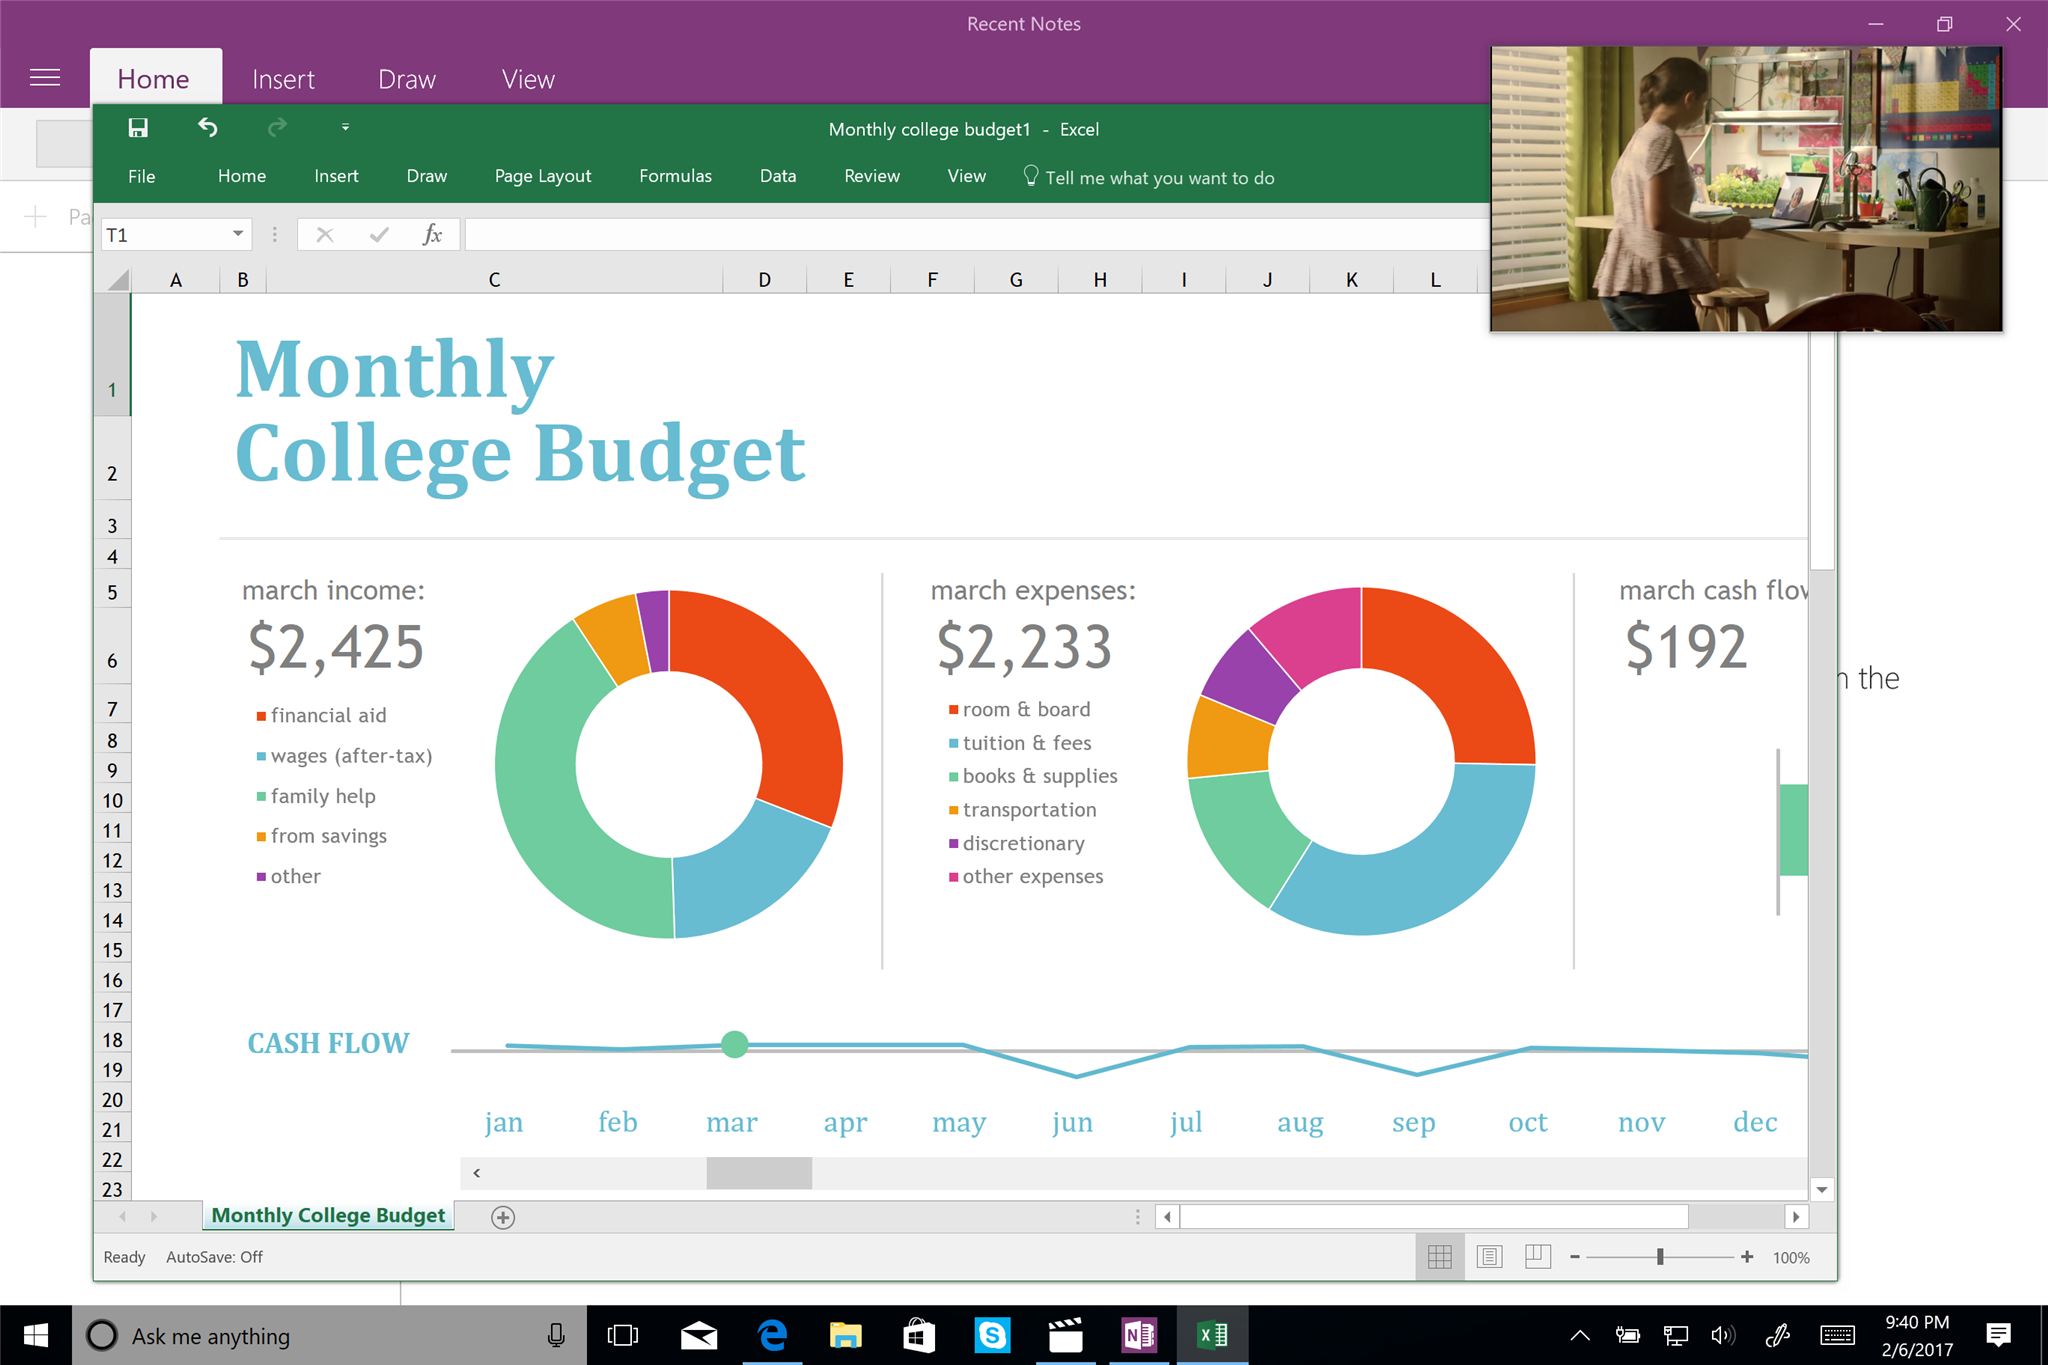 在編輯Excel的時候依然可以觀看影片!
這樣的功能要實作非常的簡單!先是在MainPage.xaml上加上一個AppBarButton以及該Clicked的 event handler
<Page
    x:Class="TransparentWindow.MainPage"
    xmlns="http://schemas.microsoft.com/winfx/2006/xaml/presentation"
    xmlns:x="http://schemas.microsoft.com/winfx/2006/xaml"
    xmlns:local="using:TransparentWindow"
    xmlns:d="http://schemas.microsoft.com/expression/blend/2008"
    xmlns:mc="http://schemas.openxmlformats.org/markup-compatibility/2006"
    mc:Ignorable="d">

    <Grid x:Name="rootGrid">
        <TextBlock Text="This is MainPage"/>
    </Grid>

    <Page.BottomAppBar>
        <CommandBar>
            <CommandBar.PrimaryCommands>
                <AppBarButton Icon="Back" Label="Back" Click="AppBarButton_Click"/>
                <AppBarButton Icon="Go" Label="Go" Click="AppBarButton_Click"/>
            </CommandBar.PrimaryCommands>
        </CommandBar>
    </Page.BottomAppBar>
</Page>
接者編輯MainPage.xaml.cs的AppBarButton_Click method
private async void AppBarButton_Click(object sender, RoutedEventArgs e)
        {
            if (!Windows.UI.ViewManagement.ApplicationView.GetForCurrentView().IsViewModeSupported(Windows.UI.ViewManagement.ApplicationViewMode.CompactOverlay))
            {
                System.Diagnostics.Debug.WriteLine("Cant use the Picture-In-Picture mode");
                return;
            }

            switch((sender as AppBarButton).Label)
            {
                case "Back":
                    await Windows.UI.ViewManagement.ApplicationView.GetForCurrentView().TryEnterViewModeAsync(Windows.UI.ViewManagement.ApplicationViewMode.Default);
                    break;
                case "Go":
                    var compactPreference = Windows.UI.ViewManagement.ViewModePreferences.CreateDefault(Windows.UI.ViewManagement.ApplicationViewMode.CompactOverlay);
                    compactPreference.CustomSize = new Size(300, 200);
                    var isSuccess = await Windows.UI.ViewManagement.ApplicationView.GetForCurrentView().TryEnterViewModeAsync(Windows.UI.ViewManagement.ApplicationViewMode.CompactOverlay, compactPreference);
                    break;
            }
        }
先使用ApplicationView來判斷是否支援Picture-In-Picture的模式(在SDK稱呼為CompactOverlay Mode)然後再建立compact的Preference並且設定預設的Size。最後在使用ApplicationView去轉換成CompactOverlay的模式。
這樣App的行為就會如下
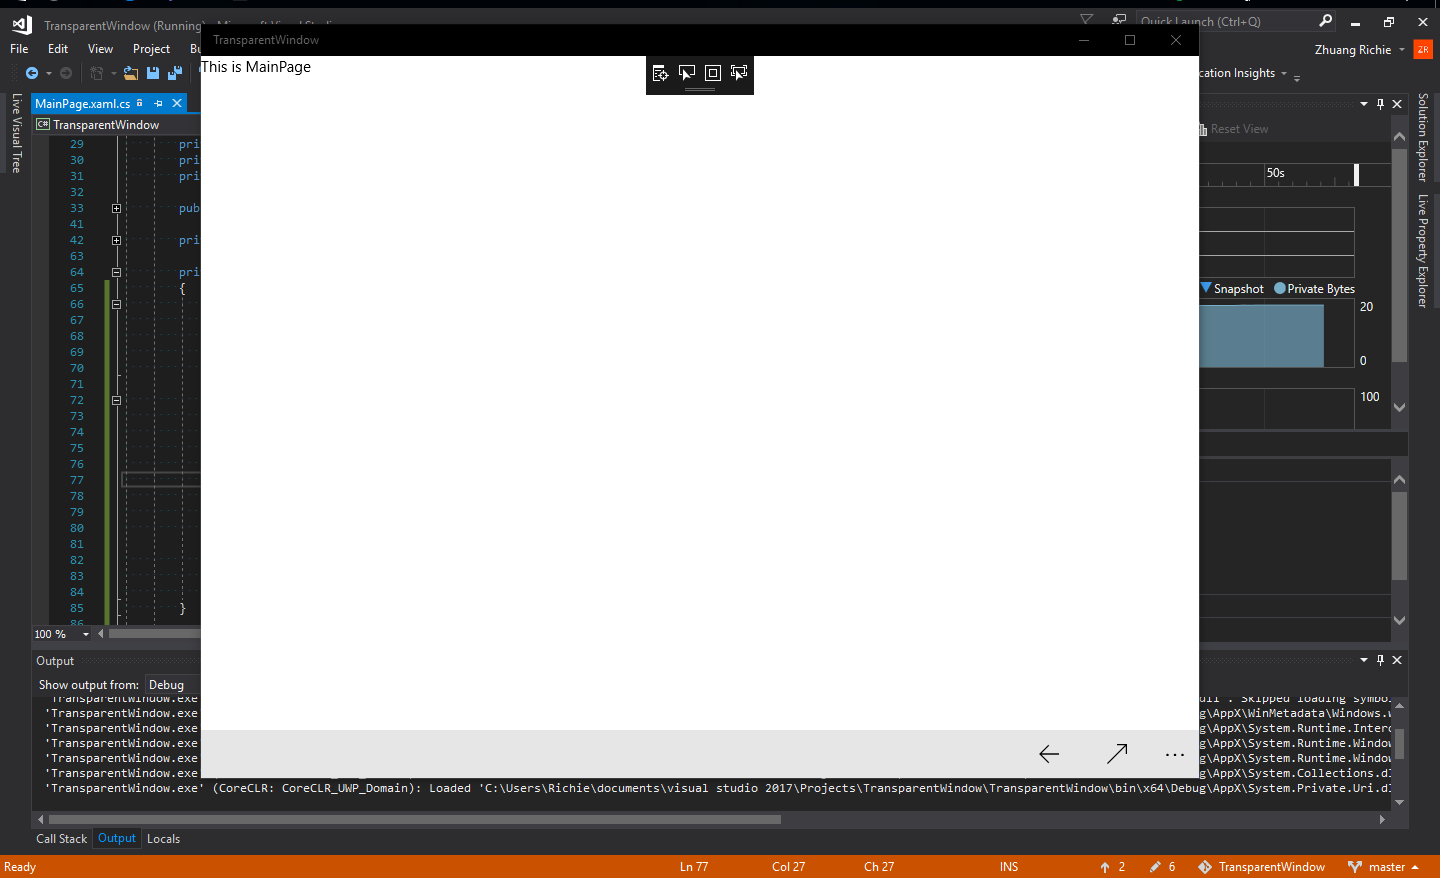
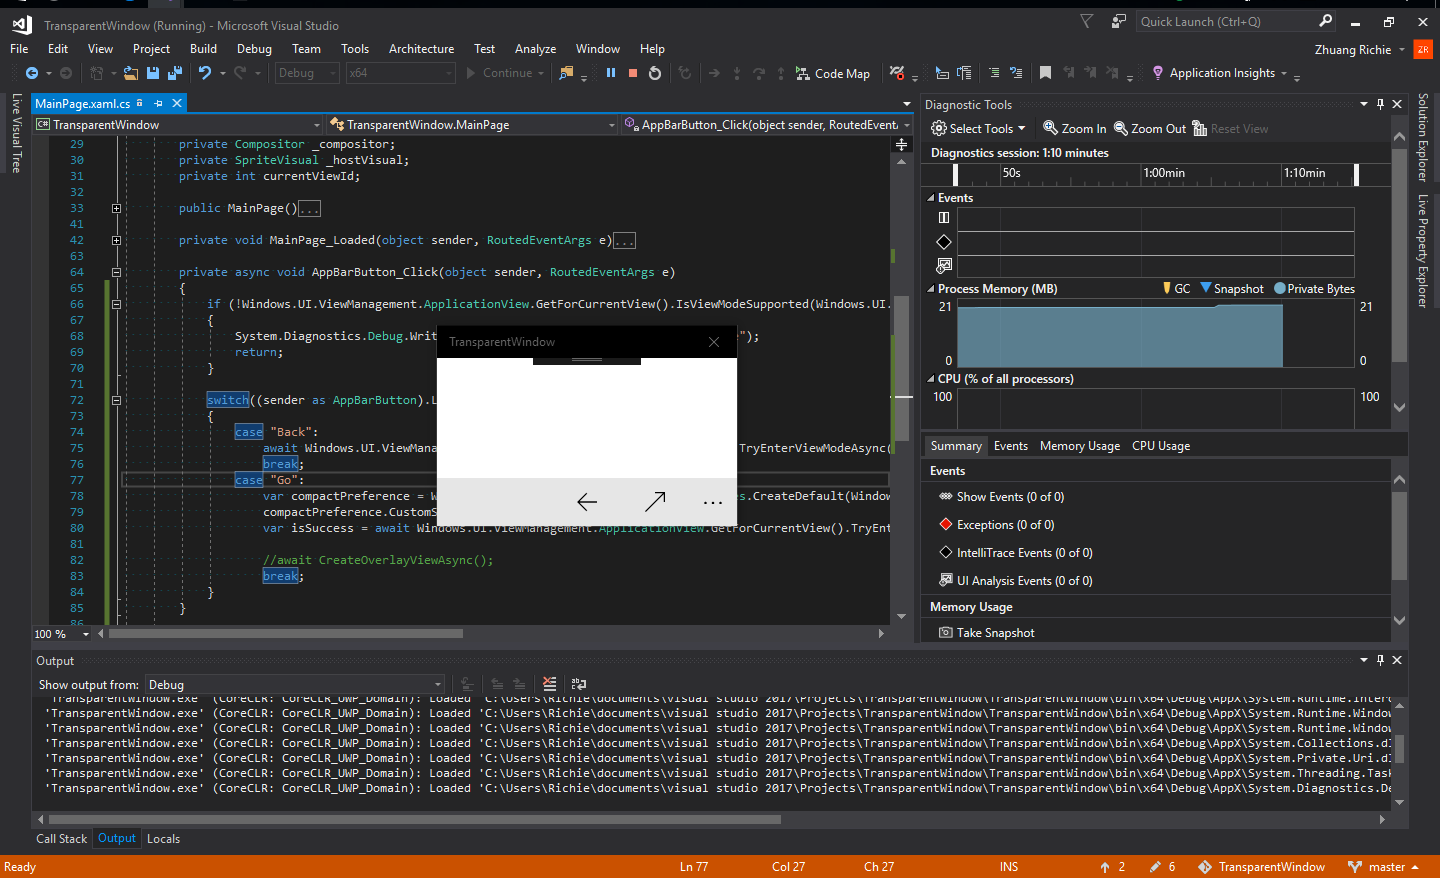
按下GO的ApplicationBarButton之後會把目前的MainPage轉換成CompactOverlay的Mode,然後按下Back的AppBarButton就會把現在的MainPage還原成預設的模式!這樣在切換實在是很方便不是嗎?
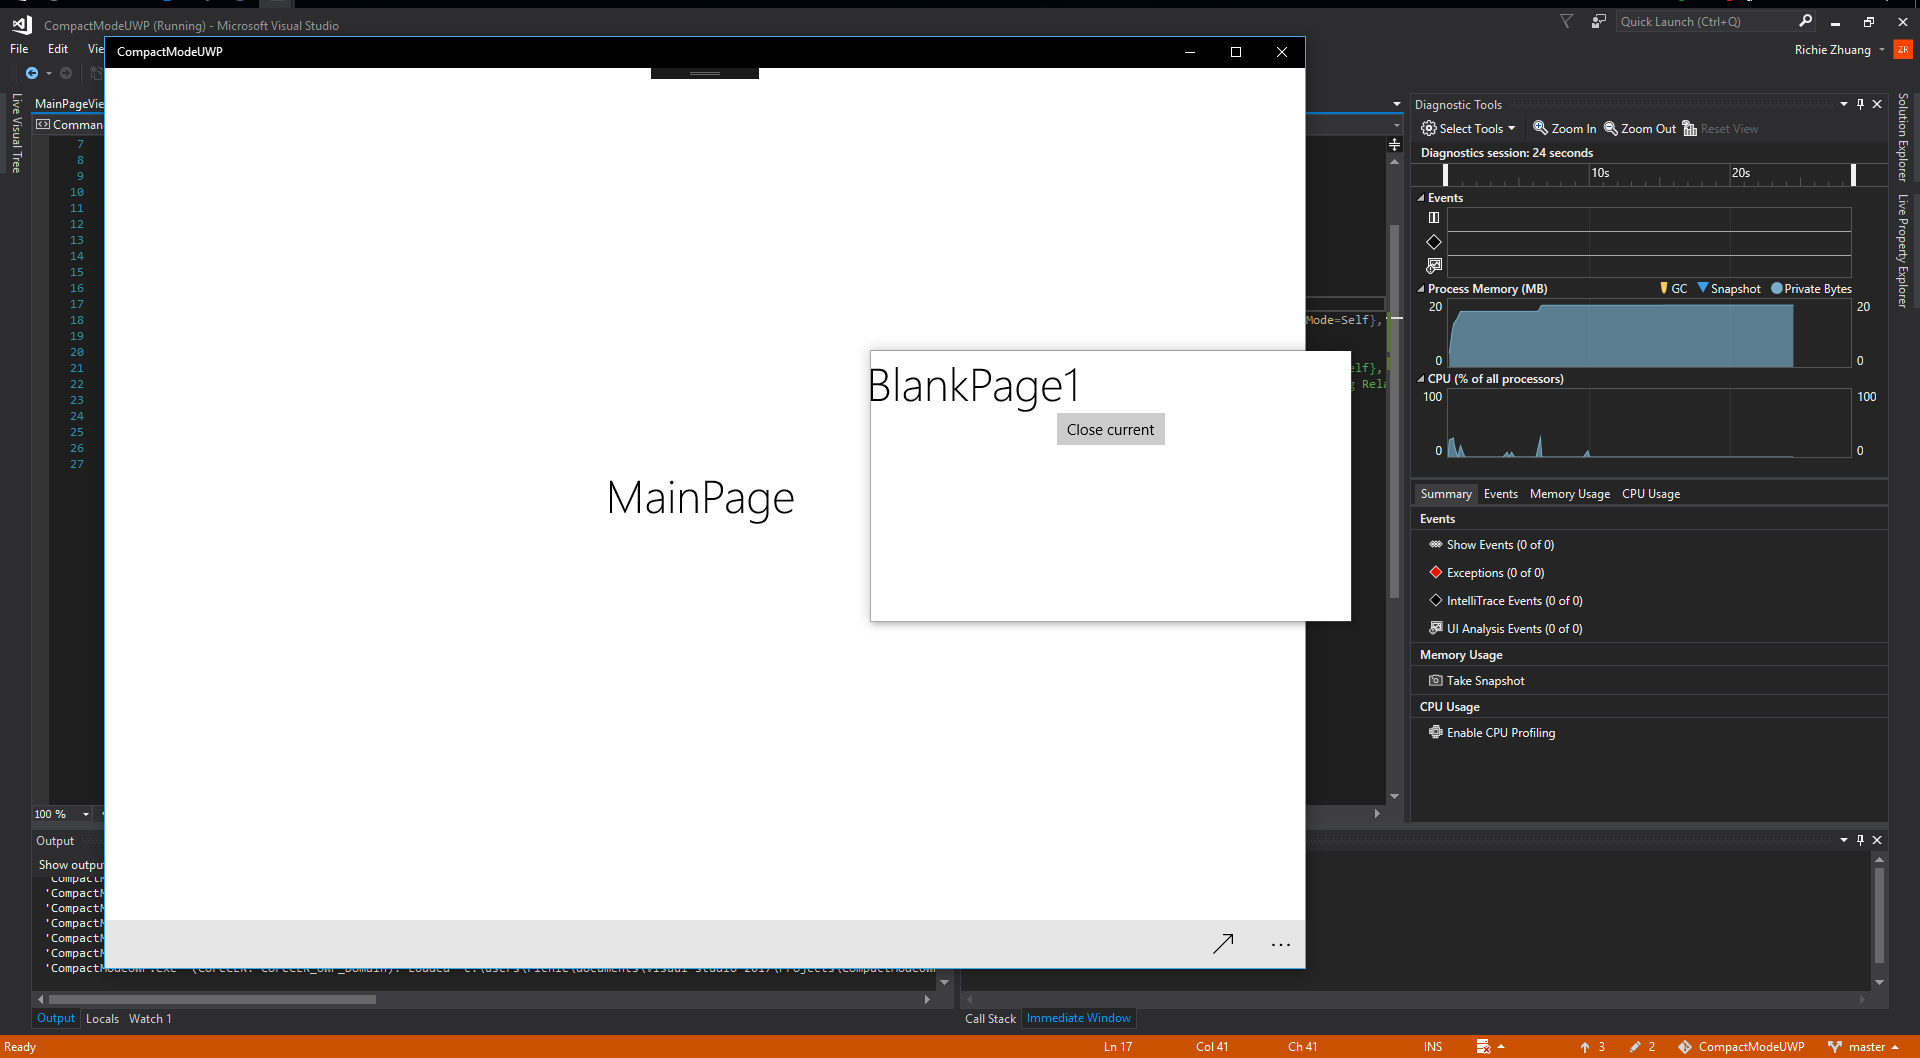
接者來進階一點的方式!產生另外一個Window像是Skype在Windows 10 creator update之後的模式,如下圖
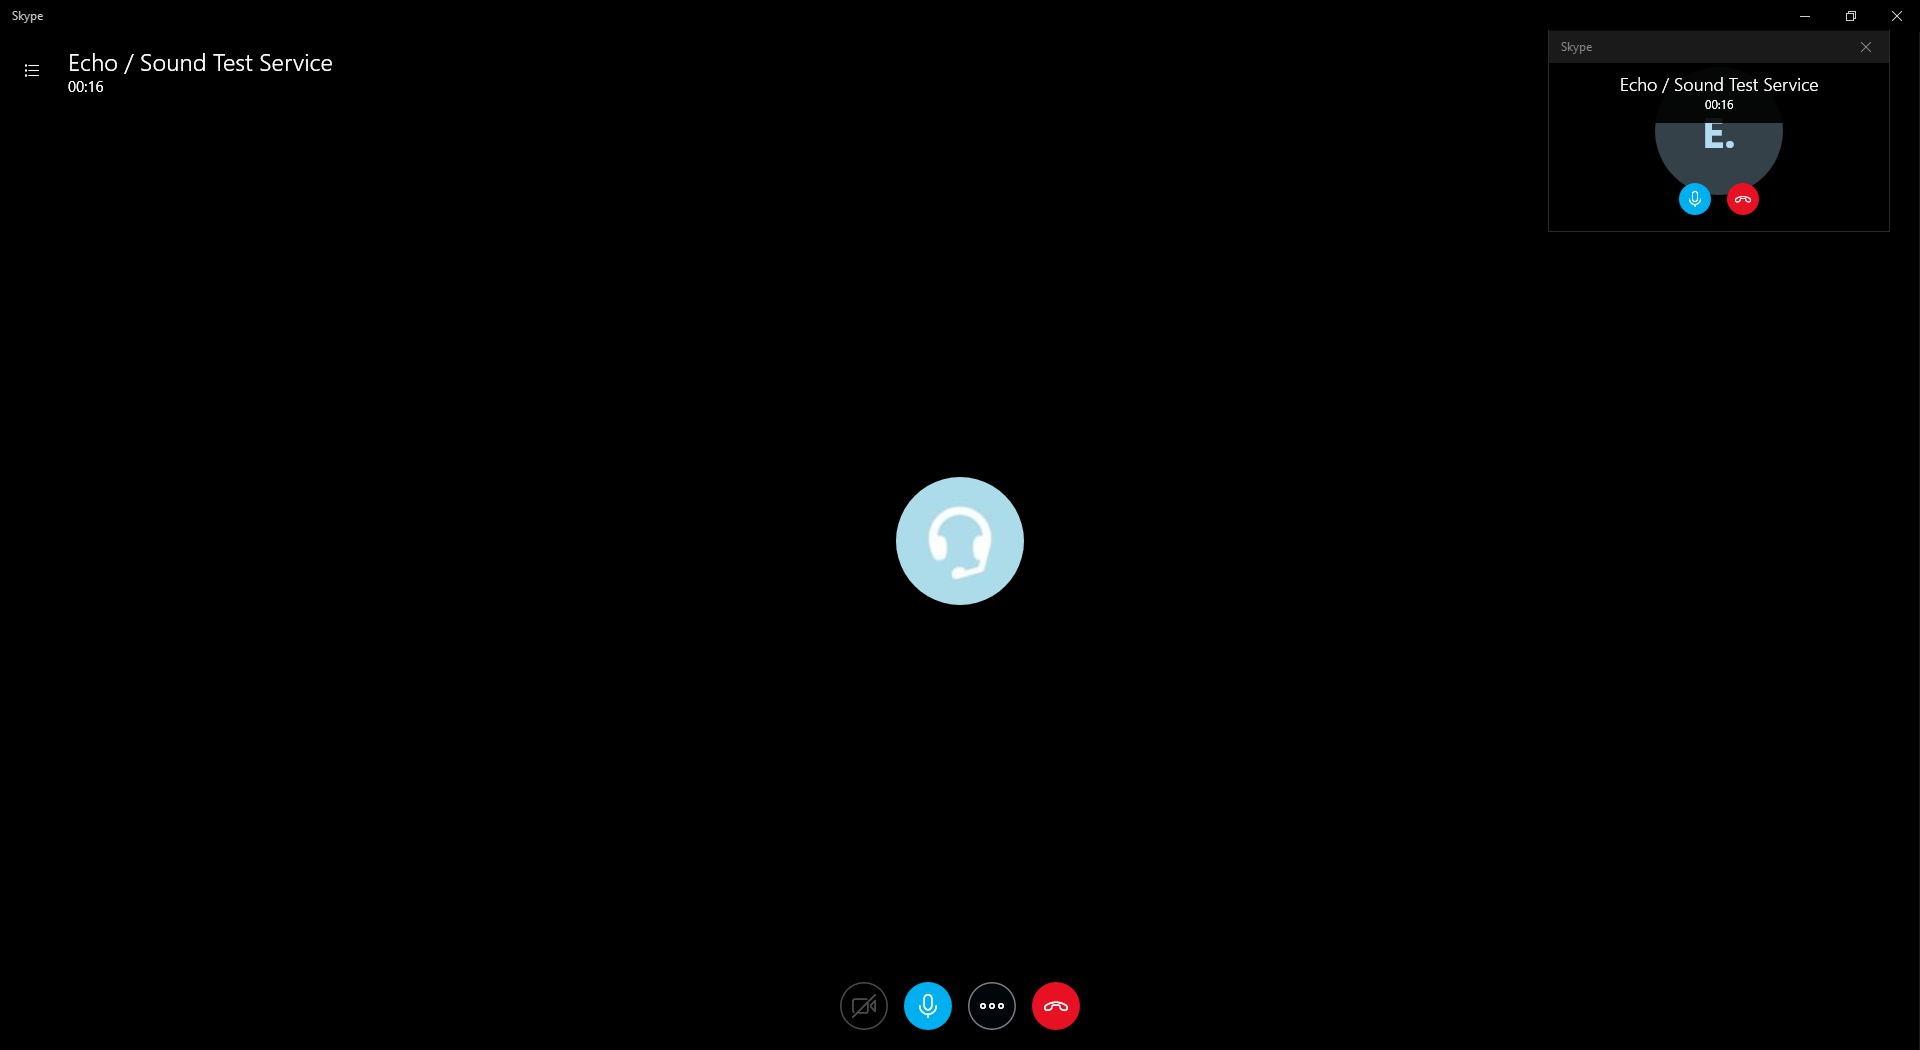 使用這樣的模式產生另外一個Window而且採用Compact view的UI方式!
先是建立另外一個Xaml的page這邊我取名BlankPage1然後MainPage.xaml上的BottomAppBar裡面加入CommandBar中加入一個AppBarButton然後把Click事件的處理方法加入如下Code
<Page.BottomAppBar>
  <CommandBar>
    <CommandBar.PrimaryCommands>
      <AppBarButton Label="Show sub-view" Icon="Go" Command="{x:Bind MainPageVM.ShowCompactSubView}" CommandParameter="{Binding RelativeSource={RelativeSource Mode=Self}, Path=Label}"/>
    </CommandBar.PrimaryCommands>
  </CommandBar>
</Page.BottomAppBar>
接者在Command的部分使用如下C#的Code
private async Task<bool> CreateOverlayViewAsync()
        {
            var switchResult = false;
            var compactViewId = default(int);
            await Windows.ApplicationModel.Core.CoreApplication.CreateNewView().Dispatcher.TryRunAsync(Windows.UI.Core.CoreDispatcherPriority.Normal, () =>
            {
                var compactFrame = new Frame();
                compactViewId = ApplicationView.GetForCurrentView().Id;
                compactFrame.Navigate(typeof(BlankPage1), currentViewId);
                Window.Current.Content = compactFrame;
                Window.Current.Activate();
                //ApplicationView.GetForCurrentView().Title = nameof(BlankPage1);
            });
            switchResult = await ApplicationViewSwitcher.TryShowAsViewModeAsync(compactViewId, ApplicationViewMode.CompactOverlay);
            return switchResult;
        }
這邊會使用到CoreApplication來產生新的View並且建立新的Frame之後導覽到BlankPage1並且帶入現在正在使用的View的Id進去,這邊註解掉的可以讓Compact view所建立出來的Title顯示為不同名稱~
然後再BlankPage1的Xaml變更如下
<StackPanel Background="{ThemeResource ApplicationPageBackgroundThemeBrush}">
        <TextBlock Text="{x:Bind BlankPageVM.PageTitle}" Style="{ThemeResource HeaderTextBlockStyle}"/>
        <Button Content="Close current" HorizontalAlignment="Center" VerticalAlignment="Center" Click="Button_Click"/>
    </StackPanel>
然後再Button_Click中呼叫如下的Code
private async Task TryCloseSubViewAsync()
        {
            try
            {
                var currentViewId = ApplicationView.GetForCurrentView().Id;
                await ApplicationViewSwitcher.SwitchAsync(_parentViewId, currentViewId, ApplicationViewSwitchingOptions.ConsolidateViews);
            }
            catch (Exception ex)
            {
                System.Diagnostics.Debug.WriteLine(ex.Message);
            }
        }
這邊會使用到ApplicationViewSwitcher來做切換的動作,更加深入探討ApplicationViewSwitcher的部分可以看看Docs或是在GitHub的上Sample。
實際操作畫面如下
總結
使用Compact mode的時候可以讓App和User的操作更加的彈性,讓可以更加的多工操作!
***以上Code以及說明都有可能隨著Windows 10 的版本以及Visual Studio 版本有所調整!***
參考資料 MSDN, Microsoft developer blog
下次再分享Windows 10 的新技術拉~