[Xamarin初學者04]多頁Xamarin應用程式,Binding Model,Content Page,清單頁裡面的ListView,明細頁,push,pop,async, Navigation.PopAsync,ContentPage.ToolbarItems,ListView.ItemTemplate,如何設定app首頁,OnAppearing
接續上篇文章[Xamarin初學者03]認識label文字,editor文字編輯區,Grid表格排版,StackLayout整個頁面四周圍的留白
然後於Notes專案底下加入一個Models資料夾,並在資料夾裡面加入一個類別叫做Notes
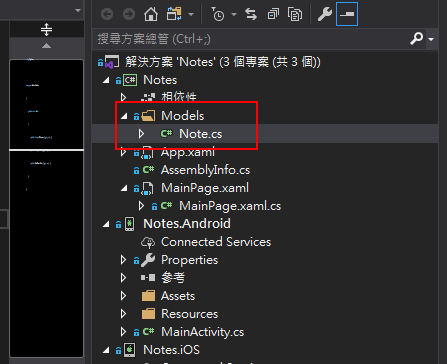
此類別的內容如下
using System;

namespace Notes.Models
{
    public class Note
    {
        public string Filename { get; set; }
        public string Text { get; set; }
        public DateTime Date { get; set; }
    }
}
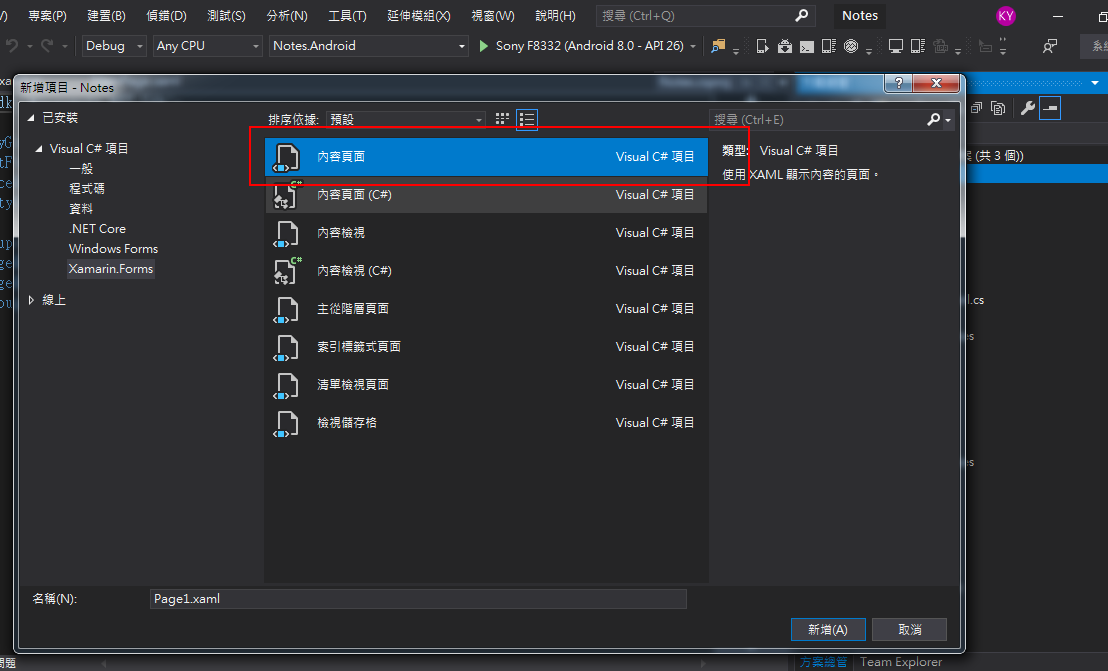
接著於Notes專案的根目錄底下加入一個 Content Page(中文叫做內容頁面) 的項目
此項目請取名稱為NoteEntryPage,用web的方式來比喻的話,這是明細頁,查詢清單的每一筆資料的明細頁
當然這也是用xaml做排版的
此明細頁NoteEntryPage.xaml的內容如下
Binding的用處,就是把傳進來的Model的資料,綁定在某個頁面上的element
<?xml version="1.0" encoding="UTF-8"?>
<ContentPage xmlns="http://xamarin.com/schemas/2014/forms"
             xmlns:x="http://schemas.microsoft.com/winfx/2009/xaml"
             x:Class="Notes.NoteEntryPage"
             Title="Note Entry">
    <StackLayout Margin="20">
	<!-- Binding就是把傳進來的Model類別的Text欄位資料,綁定在這個Editor -->
        <Editor Placeholder="Enter your note"
                Text="{Binding Text}"
                HeightRequest="100" />
        <Grid>
            <Grid.ColumnDefinitions>
                <ColumnDefinition Width="*" />
                <ColumnDefinition Width="*" />
            </Grid.ColumnDefinitions>
            <Button Text="Save"
                    Clicked="OnSaveButtonClicked" />
            <Button Grid.Column="1"
                    Text="Delete"
                    Clicked="OnDeleteButtonClicked"/>
        </Grid>
    </StackLayout>
</ContentPage>
並加入NoteEntryPage.xaml的Server端程式碼:NoteEntryPage.xaml.cs
.cs內容如下:
內有註解說明需要注意的地方, 包括語法async, Navigation.PopAsync()
using System;
using System.IO;
using Xamarin.Forms;
using Notes.Models;

namespace Notes
{
    public partial class NoteEntryPage : ContentPage
    {
        public NoteEntryPage()
        {
            InitializeComponent();
        }

        //async的方式執行此function,才不會影響使用者體驗
		async void OnSaveButtonClicked(object sender, EventArgs e)
        {
            var note = (Note)BindingContext;

            if (string.IsNullOrWhiteSpace(note.Filename))
            {
                // Save
                var filename = Path.Combine(App.FolderPath, $"{Path.GetRandomFileName()}.notes.txt");
                File.WriteAllText(filename, note.Text);
            }
            else
            {
                // Update
                File.WriteAllText(note.Filename, note.Text);
            }

            //pop的意思就是回到上一頁
			//在這個專案的情況,將會是回到首頁(即清單頁)
			await Navigation.PopAsync();
        }

        async void OnDeleteButtonClicked(object sender, EventArgs e)
        {
            var note = (Note)BindingContext;

            if (File.Exists(note.Filename))
            {
                File.Delete(note.Filename);
            }

            await Navigation.PopAsync();
        }
    }
}
下一步就是建立我們自己決定的app的首頁(即清單頁),原本預設的首頁MainPage.xaml將會被我們取消掉。
請繼續於Notes專案根目錄底下新增一個 Content Page,名稱取為NotesPage.xaml,這個將會是我們新的首頁(即清單頁)
其內容如下, 並且內有需要注意的語法的註解,包括:ContentPage.ToolbarItems, ListView.ItemTemplate
<?xml version="1.0" encoding="UTF-8"?>
<ContentPage xmlns="http://xamarin.com/schemas/2014/forms"
             xmlns:x="http://schemas.microsoft.com/winfx/2009/xaml"
             x:Class="Notes.NotesPage"
             Title="Notes">
    <!-- ToolbarItems會在上方顯示海苔條 -->
    <!-- 可以在此海苔條加入任何想要的動作 -->
    <!-- 例如:導向到另一個頁面,或………等等 -->
    <ContentPage.ToolbarItems>
        <ToolbarItem Text="+"
                     Clicked="OnNoteAddedClicked" />
    </ContentPage.ToolbarItems>

    <!-- ListView就類似html的table,曾經用過web form開發網頁的朋友 -->
    <!-- 會發現這個ListView跟當年非常類似 -->
    <!--ItemSelected會觸發點選此筆資料的事件-->
    <ListView x:Name="listView"
              Margin="20"
              ItemSelected="OnListViewItemSelected">
        <!--ItemTemplate+DataTemplate就是用來顯示每一筆資料-->
        <ListView.ItemTemplate>
            <DataTemplate>
                <TextCell Text="{Binding Text}"
                          Detail="{Binding Date}" />
            </DataTemplate>
        </ListView.ItemTemplate>
    </ListView>
</ContentPage>
再來於NotesPage.xaml.cs加入Server端的行為,讓此清單頁的每一筆資料可以導向到明細頁來顯示明細
using System;
using System.Collections.Generic;
using System.IO;
using System.Linq;
using Xamarin.Forms;
using Notes.Models;

namespace Notes
{
    public partial class NotesPage : ContentPage
    {
        public NotesPage()
        {
            InitializeComponent();
        }

		//OnAppearing類似web form應用程式的Page_Load
        protected override void OnAppearing()
        {
            base.OnAppearing();

            var notes = new List<Note>();

            var files = Directory.EnumerateFiles(App.FolderPath, "*.notes.txt");
            foreach (var filename in files)
            {
                notes.Add(new Note
                {
                    Filename = filename,
                    Text = File.ReadAllText(filename),
                    Date = File.GetCreationTime(filename)
                });
            }

            listView.ItemsSource = notes
                .OrderBy(d => d.Date)
                .ToList();
        }

		// 事件請記得都要用async來做非同步執行,才不會影響使用者體驗
        async void OnNoteAddedClicked(object sender, EventArgs e)
        {
			//PushAsync就是進入下一頁
			//這是以資料結構的Stack堆疊的概念來實做的
			//這會傳送一個空白的Note物件到NoteEntryPage
			//用來新增一筆資料
            await Navigation.PushAsync(new NoteEntryPage
            {
                BindingContext = new Note()
            });
        }

        async void OnListViewItemSelected(object sender, SelectedItemChangedEventArgs e)
        {
            if (e.SelectedItem != null)
            {
                await Navigation.PushAsync(new NoteEntryPage
                {
					//把使用者選取的該Note物件傳送到下一頁NoteEntryPage
					//就可以在明細頁顯示明細了
                    BindingContext = e.SelectedItem as Note
                });
            }
        }
    }
}
最後一個步驟請打開App.xaml.cs,這是app一啟動的時候就會執行的程式碼
請加入一個FoldePath變數,這是使用者輸入的資料將會存放的地方
並利用系統變數MainPage來設定新的app首頁,App.xaml.cs明細如下
using System;
using System.IO;
using Xamarin.Forms;
using Xamarin.Forms.Xaml;

namespace Notes
{
    public partial class App : Application
    {
        //加入一個變數來儲存路徑
        public static string FolderPath { get; private set; }

        public App()
        {
            InitializeComponent();

            //MainPage = new MainPage();
            //MainPage是內建的系統變數,就是app的首頁
            FolderPath = Path.Combine(Environment.GetFolderPath(Environment.SpecialFolder.LocalApplicationData));
            //這行是用來將NotesPage.xaml設定為清單頁(NavigationPage)
            //並且設定此清單頁為首頁
            MainPage = new NavigationPage(new NotesPage());
        }

        protected override void OnStart()
        {
            // Handle when your app starts
        }

        protected override void OnSleep()
        {
            // Handle when your app sleeps
        }

        protected override void OnResume()
        {
            // Handle when your app resumes
        }
    }
}
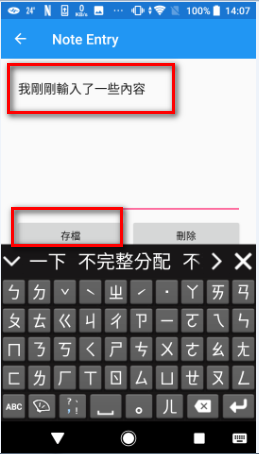
然後利用Ctrl + F5(或是F5)直接發行到手機測試,首先就利用右上角的 + 符號,新增一筆資料:

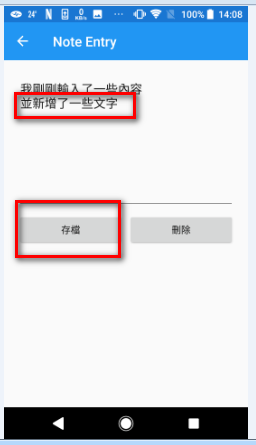
並請隨意輸入內容之後,按下 存檔 按鈕
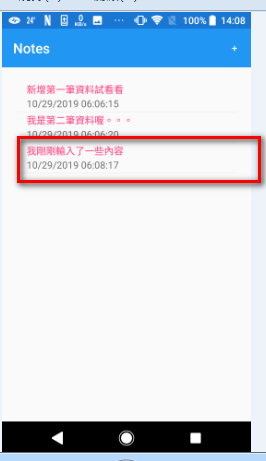
可以看到清單這邊多出一筆內容囉
想要編輯這筆資料的話,在清單畫面點進去該筆資料,並增加任意的內容,最後按下存檔就可以囉
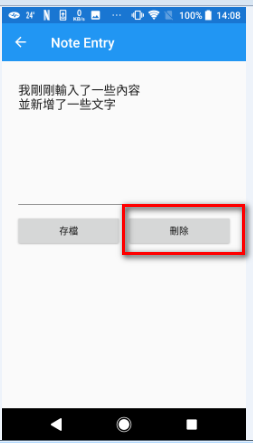
想要刪除這筆資料的話,在清單畫面點進去該筆資料,並按下 刪除 按鈕就可以囉
到此為止的多頁Xamarin應用程式就算是完成了
這篇大概是這樣……
下一篇就會把這邊改用sqlite資料庫來儲存這些資料了
敬請期待
參考資料:
在多頁的 Xamarin. Forms 應用程式中執行流覽
https://docs.microsoft.com/zh-tw/xamarin/get-started/quickstarts/multi-page?pivots=windows