Tabhost算是較為進階的UI,對於Android初學者來說有些地方不太好理解,因此來簡單的分享一下。
Tabhost算是較為進階的UI,對於Android初學者來說有些地方不太好理解,因此來簡單的分享一下。
一開始先建立一些string來提供wdget使用(非必要,主要是用於tabhost上的LinearLayout):
    Hello World, TabhostActivity!
    Tabhost
接著配置main.xml:
<?xml version="1.0" encoding="utf-8"?>
<FrameLayout xmlns:android="http://schemas.android.com/apk/res/android"
    android:layout_width="fill_parent"
    android:layout_height="fill_parent">

    <LinearLayout
        android:id="@+id/linearLayout1"
        android:layout_width="match_parent"
        android:layout_height="match_parent"
        android:orientation="vertical" >


        <TextView
            android:id="@+id/textView1"
            android:layout_width="wrap_content"
            android:layout_height="wrap_content"
            android:text="@string/hello"
            android:textAppearance="?android:attr/textAppearanceLarge" />

    </LinearLayout>

    <LinearLayout
        android:id="@+id/linearLayout2"
        android:layout_width="match_parent"
        android:layout_height="wrap_content"
        android:orientation="vertical" >


        <Button
            android:id="@+id/button1"
            android:layout_width="wrap_content"
            android:layout_height="wrap_content"
            android:text="@string/hello" />

    </LinearLayout>

    <LinearLayout
        android:id="@+id/linearLayout3"
        android:layout_width="match_parent"
        android:layout_height="match_parent"
        android:orientation="vertical" >

        <DatePicker
            android:id="@+id/datePicker1"
            android:layout_width="wrap_content"
            android:layout_height="wrap_content" />

    </LinearLayout>

    <LinearLayout
        android:id="@+id/linearLayout4"
        android:layout_width="match_parent"
        android:layout_height="match_parent"
        android:orientation="vertical" >

        <EditText
            android:id="@+id/editText1"
            android:layout_width="match_parent"
            android:layout_height="wrap_content" android:bufferType="editable">

            <requestFocus />
        </EditText>

    </LinearLayout>

</FrameLayout>
以上這個部份因為不是重點所以只做一點簡單的說明。這部份是由一個FrameLayout和四個LinearLayout所組成來作為Tabhost的內容。
最後是Tabhost的重點 - 關於java code的部分:
package com.myhost;

import android.os.Bundle;
import android.view.LayoutInflater;
import android.widget.TabHost;
import android.app.TabActivity;

public class TabhostActivity extends TabActivity {    // Extend TabActivity class
    /** Called when the activity is first created. */
    @Override
    public void onCreate(Bundle savedInstanceState) {
        super.onCreate(savedInstanceState);

        TabHost tabHost = this.getTabHost();  // The activity TabHost

        LayoutInflater.from(this).inflate(R.layout.main, tabHost.getTabContentView(), true);

        tabHost.addTab(tabHost.newTabSpec("tab1")
                .setIndicator("tab1", getResources()
                		.getDrawable(R.drawable.chartareaup_green))
                		.setContent(R.id.linearLayout1));

        tabHost.addTab(tabHost.newTabSpec("tab2")
                .setIndicator("tab2", getResources()
                		.getDrawable(R.drawable.home_yellow))
                		.setContent(R.id.linearLayout2));

        tabHost.addTab(tabHost.newTabSpec("tab3")
                .setIndicator("tab3", getResources()
                		.getDrawable(R.drawable.harddrivedownload_red))
                		.setContent(R.id.linearLayout3));

        tabHost.addTab(tabHost.newTabSpec("tab4")
                .setIndicator("tab4", getResources()
                		.getDrawable(R.drawable.shoppingcart_blue))
                		.setContent(R.id.linearLayout4));
    }
}
一開始我們必須讓class繼承TabActivity,接著宣告Tabhost變數,並透過getTabHost來取得Activity的TabHos reference。
然後透過TabActivity取得LayoutInFlater。LayoutInFlater這個類別是用來實體化layout的xml檔。這邊使用的方式是先利用from(this)取得本context的LayoutInFlater,再透過inflate()實體化指定的xml來建立新的view hierarchy。 接著加入TabSpec到Tabhost中,TabSpect是一種建立indicator, content, tag的builder。
顯示的效果如下:
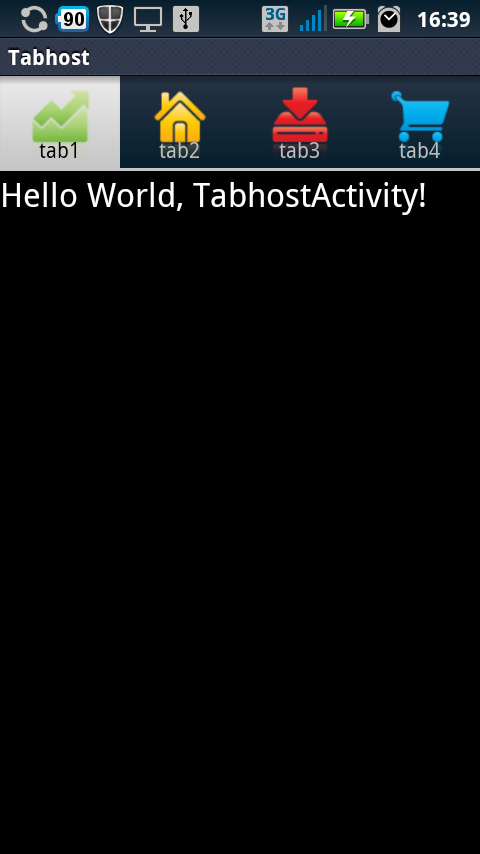
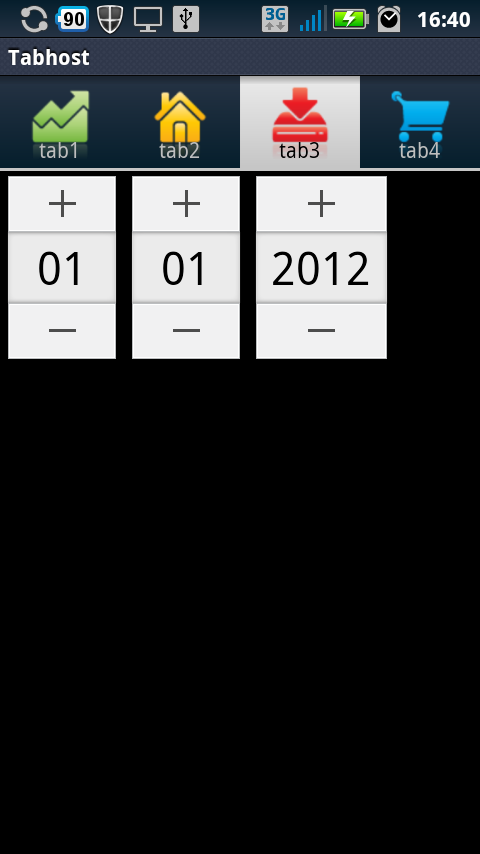
結論:
Tabhost的實作其實並不是太複雜,只是有許多地方比較難以被理解而已。另外在網路上有關於如何實作動態Tabhost的部分,這部分等我弄清楚些再跟大家分享。