以往我是將 Search Service 和 TFS Application Tier(TFS 已改名 Azure DevOps Server) 放在同一台機器,為了不要讓搜尋影響 Azure DevOps Server Application Tier,這次我要將 Search Service 放在另外一台主機上。
安裝 Search Service
整個完整的安裝步驟就放在已下路徑,看著這檔案應該可以完成
C:\Program Files\Azure DevOps Server 2019\Search\zip\README.txt
開始之前需要安裝 JRE,並且設定 JAVA_HOME 的系統環境變數
Before you proceed, ensure you have Oracle JRE 7 Update 55 or higher, or JRE 8 Update 20 or higher installed and that JAVA_HOME variable is pointing to the Java installation directory. Read Java installation notes for more details:
https://go.microsoft.com/fwlink/?linkid=822603
環境變數設定步驟,如下:

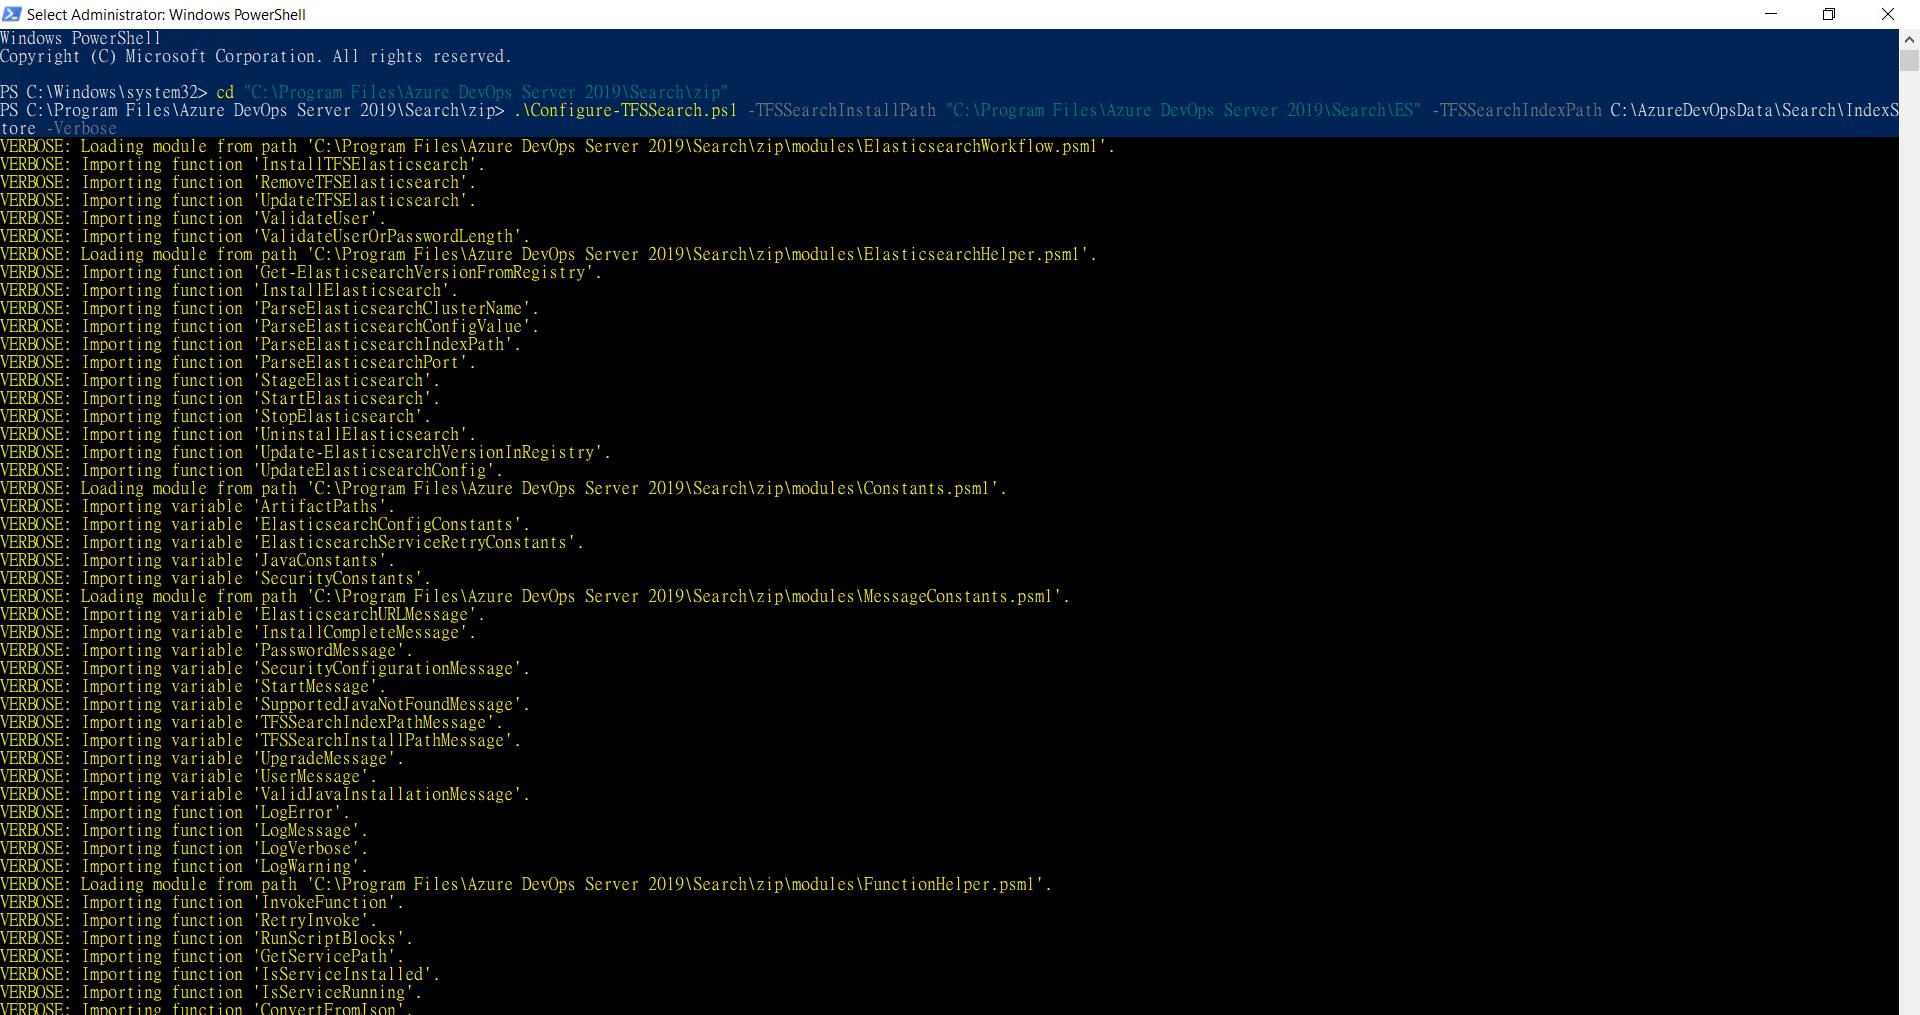
用管理員身分開啟 Windows PowerShell,執行以下:
這裡需要兩個路徑,需要手動建立起來,一個是 ES 的安裝路徑,一個是索引的路徑
cd "C:\Program Files\Azure DevOps Server 2019\Search\zip"
.\Configure-TFSSearch.ps1 -TFSSearchInstallPath "C:\Program Files\Azure DevOps Server 2019\Search\ES" -TFSSearchIndexPath C:\AzureDevOpsData\Search\IndexStore -Verbose
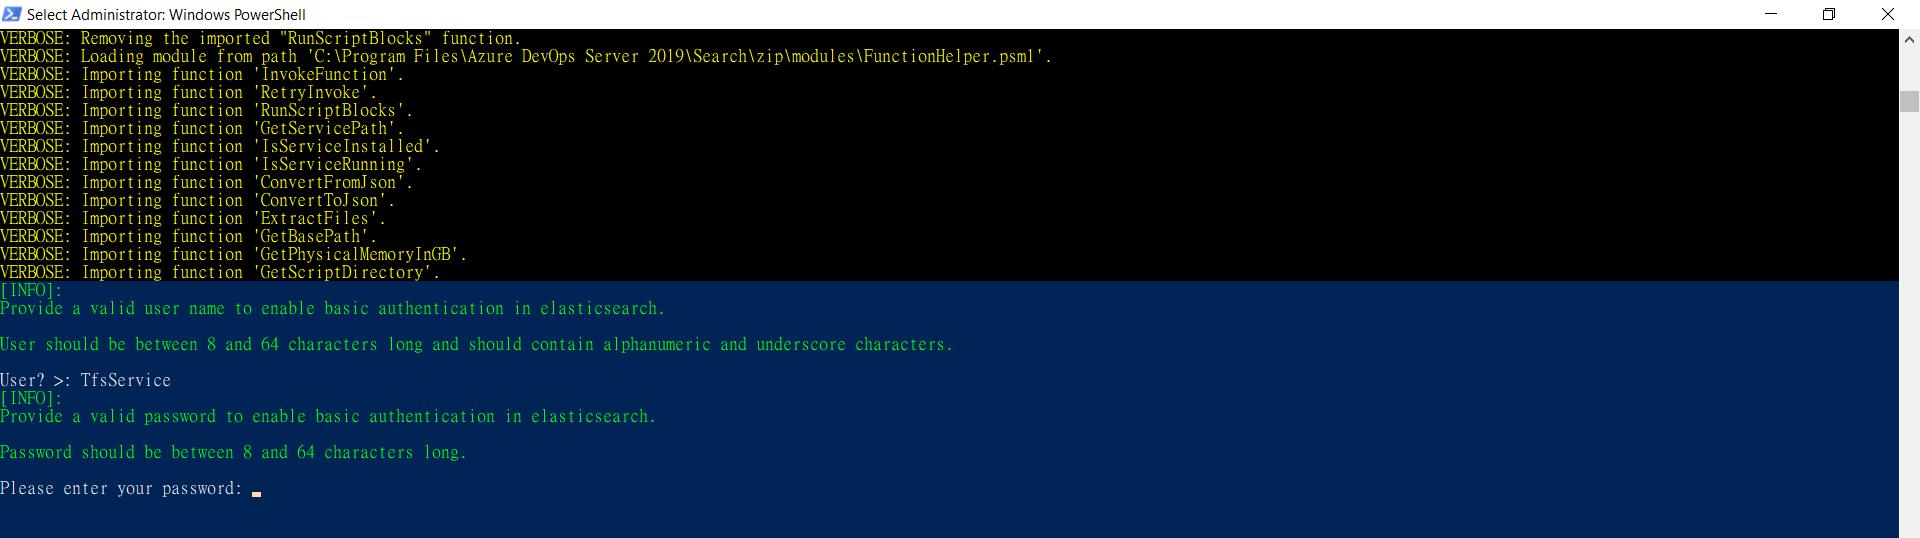
最後設定一組 Basic Authentication,需要符合原則:
帳號原則:User should be between 8 and 64 characters long and should contain alphanumeric and underscore characters.
密碼原則:Password should be between 8 and 64 characters long.
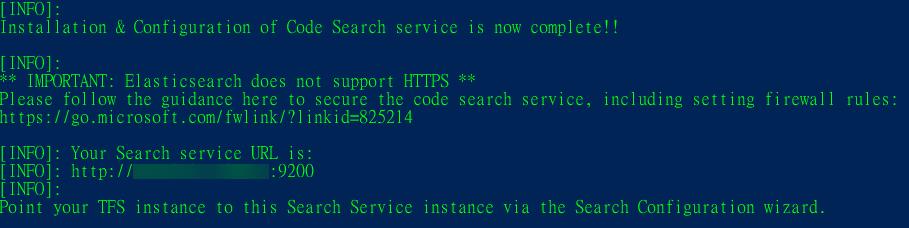
安裝完成,服務的 URL:http://remote computer:9200,如下圖:
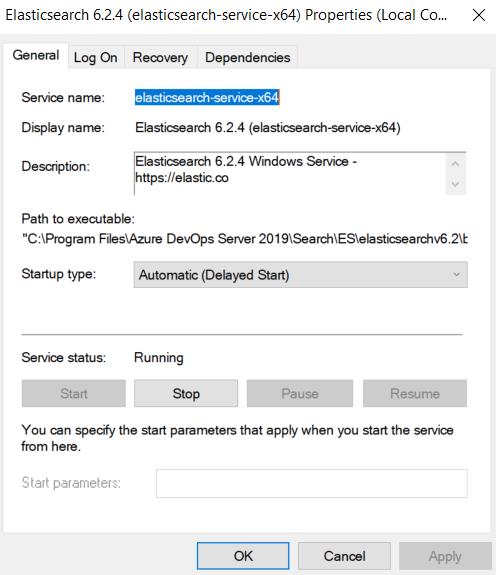
服務狀態,如下圖:
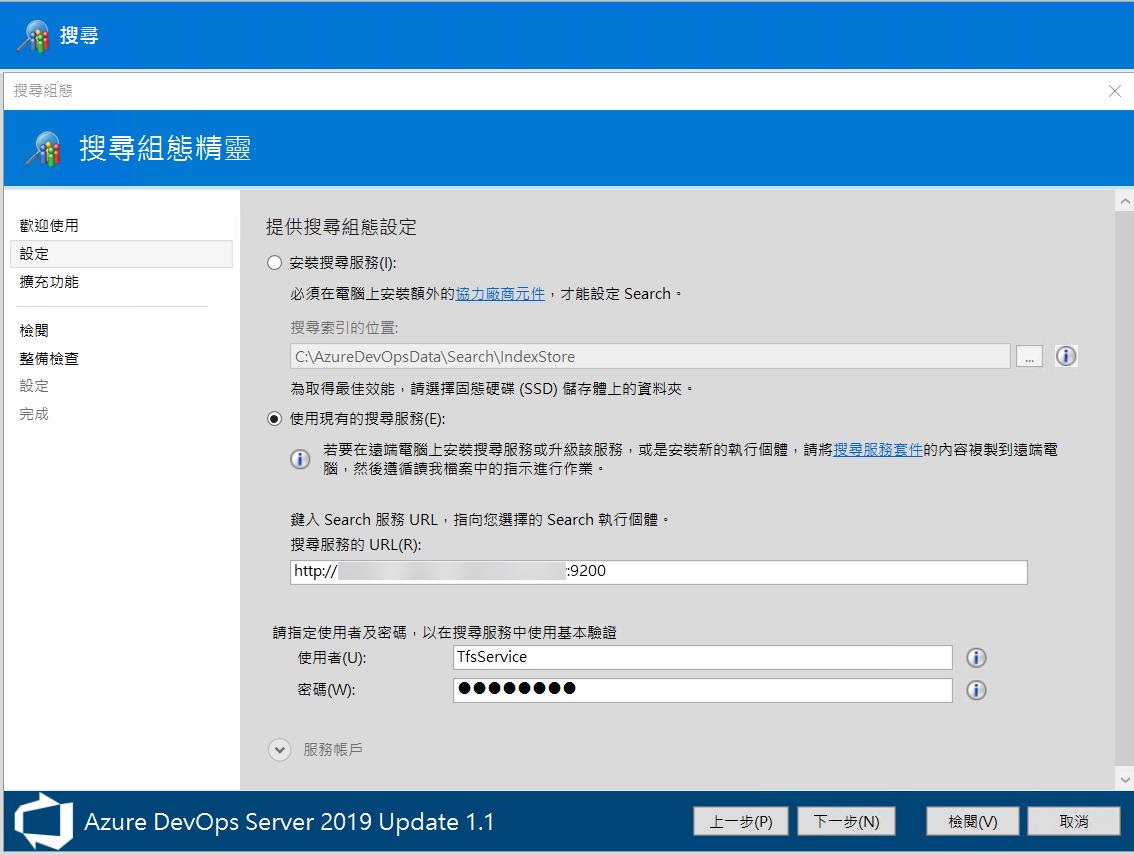
設定 Search Service
接下來在 Azure DevOps Server 管理主控台設定搜尋服務,由於遠端的 Search Service 環境已經建立完成,在這裡只需要輸入 Basic Authentication 的帳密即可。
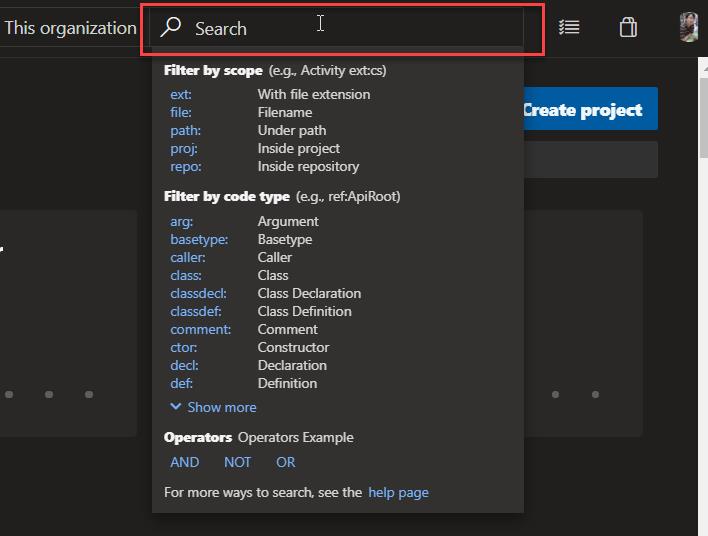
最後在 Azure DevOps Server 的站台,https://localhost/tfs 右上角,就會出現搜尋的畫面
完整文件請參考以下:
https://docs.microsoft.com/en-us/azure/devops/project/search/administration?view=azure-devops-2019
github:https://github.com/microsoft/Code-Search
C:\Program Files\Azure DevOps Server 2019\Search\zip\README.txt,完整內容如下:
<#
.SYNOPSIS
This script will install and configure Elasticsearch and associated plugins on this machine to be used by Code Search in Azure DevOps Server. For more information read:
https://go.microsoft.com/fwlink/?linkid=2042172

**Note: This is a customized version of Elasticsearch, fine-tuned for Code Search on Azure DevOps Server.

Before you proceed, ensure you have Oracle JRE 7 Update 55 or higher, or JRE 8 Update 20 or higher installed and that JAVA_HOME variable is pointing to the Java installation directory. Read Java installation notes for more details:
https://go.microsoft.com/fwlink/?linkid=822603

.DESCRIPTION

.PARAMETER Operation
Type of install operation which needs to be performed.
Valid values are install, update, remove.
Other parameters are ignored when Operation is remove.
Other parameters except user are ignored when Operation is update.
The default value of Operation is install

.PARAMETER TFSSearchInstallPath
Location where Elasticsearch is installed. (The location provided should be empty)

.PARAMETER TFSSearchIndexPath
Location on this machine where Elasticsearch indices\data will be stored.
For Code Search hardware requirements read https://www.visualstudio.com/en-us/docs/search/administration
* For maximum performance, choose a folder backed by a solid state drive (SSD).

.PARAMETER Port
Value of the port with which Elasticsearch will be configured. Valid range is 9200-9299.
Default value is 9200.

.PARAMETER ElasticsearchServiceCredential
Value of the PSCredential with which basic authentication is configured in elasticsearch

.PARAMETER Quiet
This switch if provided will bypass the first confirmation from user to make the script fully non interactive.

.EXAMPLE
$cred = Get-Credential
This will prompt for a user name and password.

Configure-TFSSearch.ps1 -Operation install -TFSSearchInstallPath C:\ES -TFSSearchIndexPath C:\ESDATA -ElasticsearchServiceCredential $cred -Quiet
This will install the Elasticsearch at C:\ES and indices will be stored at C:\ESDATA
The confirmation from the user before installation will not be asked since Quiet is true.

.EXAMPLE
$cred = Get-Credential
This will prompt for a user name and password.

Configure-TFSSearch.ps1 -Operation install -TFSSearchInstallPath C:\ES -TFSSearchIndexPath C:\ESDATA -ElasticsearchServiceCredential $cred
This will install the Elasticsearch at C:\ES and indices will be stored at C:\ESDATA
Confirmation from the user will be asked before proceeding.

.EXAMPLE
$cred = Get-Credential
This will prompt for a user name and password.

Configure-TFSSearch.ps1 -Operation install -TFSSearchInstallPath C:\ES -TFSSearchIndexPath C:\ESDATA -ElasticsearchServiceCredential $cred -Port 9201 -Quiet
This will install the Elasticsearch at C:\ES and indices will be stored at C:\ESDATA.
Elasticsearch will be installed on port 9201.
Confirmation from the user will not be asked before proceeding since -Quiet is true

.EXAMPLE
$cred = Get-Credential
This will prompt for a user name and password.

Configure-TFSSearch.ps1 -TFSSearchInstallPath C:\ES -TFSSearchIndexPath C:\ESDATA -Port 9200 -ElasticsearchServiceCredential $cred -Verbose
Verbose logging will be enabled with '-Verbose' switch. Elasticsearch will be installed at C:\ES and indices will be stored at C:\ESDATA.
Elasticsearch will use 9200 port.

.EXAMPLE
Configure-TFSSearch.ps1
This will run the script in interactive mode and will prompt for inputs.

.EXAMPLE
Configure-TFSSearch.ps1 -Operation remove
This will remove the Elasticsearch from the system. You will be prompted before deleting the indices.

.EXAMPLE
$cred = Get-Credential
This will prompt for a user name and password.

Configure-TFSSearch.ps1 -Operation update -ElasticsearchServiceCredential $cred
This will update the Elasticsearch installed on the system. Old settings\configuration and new credentials will be used after the update.

.EXAMPLE
Configure-TFSSearch.ps1 -Operation update
This will update the Elasticsearch installed on the system. Old settings\configuration and old credentials will be used after the update.
#>
若有謬誤,煩請告知,新手發帖請多包涵

Microsoft MVP Award 2010~2017 C# 第四季
Microsoft MVP Award 2018~2025 .NET
